Does Adding Lemon Juice to Milk Make It Curdle? The Simple Science Behind Homemade Paneer
 Apr, 23 2025
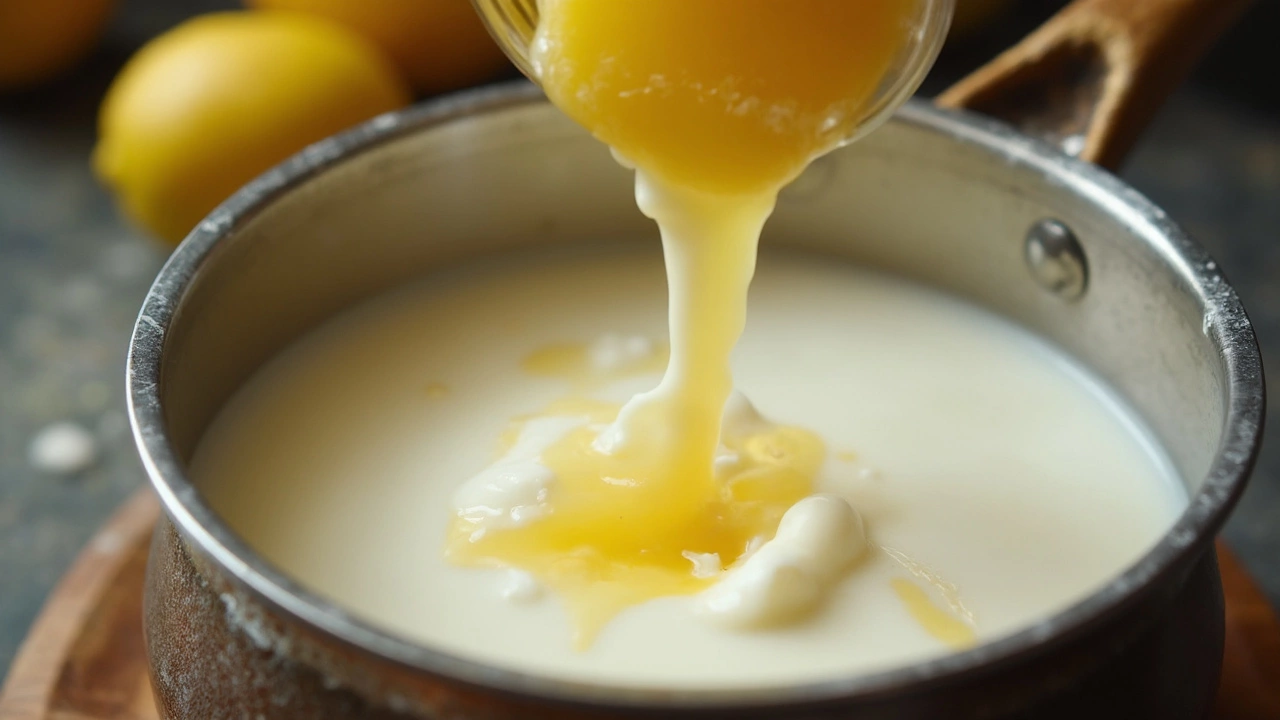
If you’ve ever poured lemon juice into a pot of hot milk and watched it turn chunky, you might be wondering what’s actually happening. This isn't some secret chef magic—it's just simple, everyday science. The acid in lemon juice messes with the proteins in milk, making them clump together and form curds. That’s basically what paneer is—milk curdled on purpose.
This trick is one of the oldest hacks in kitchens, especially in places where store-bought cheese isn’t sitting in every fridge. Lemons are cheap, easy to find, and safe to use. The best part? There’s nothing fancy here—you only need milk, a lemon, and a way to heat things up. No mystery chemicals, no odd gadgets.
- Why Lemon Juice Curdles Milk
- Making Paneer at Home: Step-by-Step
- Tips for Perfect Paneer Every Time
- Common Mistakes to Avoid
Why Lemon Juice Curdles Milk
This might sound like a weird science experiment, but adding lemon juice to hot milk is exactly how people have been making homemade paneer for decades. The science is totally simple: milk has proteins called casein floating around. They're all doing their thing until you bring acid into the picture. Lemon juice is full of citric acid, and as soon as you mix it in with hot milk, that acid trips up the proteins. They stop floating, stick together, and form curds. That's the chunky stuff you see—not spoiled milk, but the first step to paneer.
Temperature actually matters way more than you’d guess. Milk needs to be just about at boiling point—right around 85-90°C (185-194°F). Too cold? The milk won’t separate. Too hot or you overboil, and your homemade paneer goes rubbery. So, control the heat, or you’ll end up with a mess instead.
Here’s a quick breakdown of why lemon juice does the trick better than some other acids:
- Lemon juice is easy to control—just squeeze and stir and you really can’t overdo it.
- It’s cheap, easy to find, and doesn’t leave a weird taste in your curdled milk.
- You get clean, clear whey and soft paneer—no additives needed.
Some folks use vinegar, but it can leave a sharp taste. Yogurt or buttermilk works too, though they make the paneer creamier and a bit tangy. For cleaner flavors, lemon juice is the classic move.
| Acid Used | Curdling Time | Taste Impact |
|---|---|---|
| Lemon Juice | Fast (2-3 min) | Fresh, clean |
| Vinegar | Very fast (1-2 min) | Can be sharp |
| Yogurt | Slow (5-8 min) | Creamy, tangy |
Bottom line: if you want to make paneer that’s soft and mild, stick to lemon juice. No rocket science, just plain kitchen logic.
Making Paneer at Home: Step-by-Step
You don’t need anything fancy to make homemade paneer. Grab some fresh milk and a lemon, and you’re good to go. Here’s how to get those perfect curds, every single time.
- Boil the Milk
Start by pouring full-fat milk into a clean pot. Heat it on medium, stirring now and then so it doesn’t burn. The milk should come to a rolling boil—wait until you see big bubbles. - Add Lemon Juice
Turn the heat down low. Squeeze fresh lemon juice (about 2 to 3 tablespoons for 1 liter of milk) and pour it in slowly, stirring gently. In a few seconds, the milk starts separating into chunky white curds and a greenish liquid called whey. If it isn’t splitting, add a bit more lemon juice. - Separate the Curds
Once the curds form, turn off the heat. Place cheesecloth or a thin kitchen towel over a colander, then pour the mixture through. The curds stay in the cloth; the whey runs out (you can keep this for bread or smoothies—it’s full of protein). - Rinse and Squeeze
Rinse the curds under cold water. This gets rid of the lemony taste and stops the cooking. Twist the cloth and squeeze gently to remove excess water. - Shape the Paneer
Gather the curds into a flat block inside the cloth and set something heavy (like a saucepan or a can) on top. Let it sit for about 30 minutes; this presses out extra liquid and shapes your paneer. It should feel firm but not rock-hard.
"Homemade paneer turns out soft and fresh, way better than most store-bought options. The trick is to use good milk and never rush the process." — Chef Ranveer Brar
Once pressed, your paneer is ready to slice, cube, or crumble for all sorts of recipes. No preservatives, just pure milk and lemon working their real magic. Fun fact: a single liter of milk will give you about 180-200 grams of homemade paneer, which is just right for two people.
Tips for Perfect Paneer Every Time
Getting homemade paneer just right isn’t guesswork; it’s about a few smart steps and knowing what works. If you follow these, you’ll get soft, fresh cheese that holds its shape for curries and snacks.
- Use whole milk: Skip the skim and low-fat stuff. Whole milk gives a rich taste and firm curds. With skim milk, you end up with a rubbery mess or barely any paneer at all.
- Heat it slow and steady: Crank the heat too high, and you’ll burn the bottom or scorch the milk. Keep it on medium and stir now and then. Take the milk off the heat as soon as it comes to a boil.
- Fresh lemon juice works best: Bottled juice can taste weird and sometimes isn’t strong enough to do the job. Squeeze your own for reliable results and the right tang.
- Add lemon juice gradually: Pour in a little, stir gently, and watch for the magic. You’ll see the milk split into curds and a greenish liquid called whey. Don’t dump it all in at once—too much acid can make the paneer crumbly.
- Strain thoroughly: Line a colander with cheesecloth (or even a clean thin dish towel), then dump the curds in and rinse with cold water. Rinsing gets rid of that lemony sourness.
- Press it right: Gather the cloth, twist out excess water, flatten into a thick disc, and put something heavy (like a pot filled with water) on top for 30-45 minutes. This shapes the paneer and removes extra moisture.
Here’s how much paneer you’ll usually get using the classic method:
| Milk Used | Average Paneer Yield |
|---|---|
| 1 Liter | 150-180 g |
| 2 Liters | 300-350 g |
Keep your curdle milk and lemon juice ratio balanced—usually about 2 tablespoons of lemon juice for a liter of milk. If you use too little, the milk won’t split; too much, and the texture suffers.
Avoid poking or stirring the curds roughly once they form. Gentle handling leads to smoother, softer paneer. If it’s turning out dry, you’re likely overcooking after the milk starts to curdle, or pressing it for too long. Stick to these tips, and you’ll never need to buy paneer again.
Common Mistakes to Avoid
Lots of folks get tripped up when they try to make homemade paneer for the first time. Sometimes it's little things that make all the difference between creamy paneer blocks and a useless, watery mess. Here's how you can dodge the classic pitfalls when using lemon juice to curdle milk.
- Heating milk too quickly: If you crank the heat up, milk might scorch on the bottom before it even gets hot enough to curdle. Use medium heat and stir every now and then. That keeps things even and stops sticking.
- Not enough lemon juice: Skimping here leaves your milk stubbornly liquid. For every liter of milk, you generally need about 2-3 tablespoons of lemon juice. If you don’t see curds forming, add another splash.
- Using UHT or old milk: Ultra-high temperature (UHT) milk or milk that’s about to go bad won’t separate right. You want fresh, full-fat milk. Paneer from skim milk turns out rubbery, so steer clear of that too.
- Pouring lemon juice all at once: Dumping all the acid in at once just shocks the milk and sometimes forms uneven curds. It’s better to add it slowly, stirring in circles, so the curdle milk process is more even.
- Not straining the curds right away: If you let those curds sit in the hot leftover liquid (whey), they get tough. Pour them out into a cheesecloth the moment you see clear separation.
- Rinsing curds with boiling water: Rinse them with cold water instead. This stops the cooking and washes away extra lemon flavor, making your homemade paneer taste milder.
Check out this handy table for a quick fix list:
| Mistake | How to Fix It |
|---|---|
| Milk not curdling | Add more lemon juice and stir gently |
| Paneer is rubbery | Use fresh whole milk & avoid overcooking the curds |
| Curds have a strong lemon taste | Rinse the curds with cold water right after straining |
| Paneer falls apart | Press under weight for at least 30–45 minutes |
Stick to these tips and you’ll dodge the classic mistakes, making your next batch of homemade paneer way more reliable (and way tastier).
