How Long Should Roti Dough Rest? The Science Behind Perfectly Soft Rotis
 Nov, 3 2026
Roti Dough Resting Timer & Guide
Find out exactly how long you need to wait for perfectly soft rotis based on your current kitchen conditions.
You know the feeling. You spend twenty minutes rolling out perfect circles, slap them on the tawa, and they puff up beautifully. But five minutes later, your roti is as tough as leather. You bite into it, and it fights back. Why does this happen? It’s rarely about the flour or the heat. It’s almost always about what you did-or didn’t do-with the dough before you started rolling.
The secret to those pillowy, flexible rotis that stay soft for hours isn’t a magic ingredient. It’s time. Specifically, resting time. If you’ve ever skipped this step because you were hungry or rushed, you’ve been sabotaging your own cooking. Let’s break down exactly how long you need to wait, why it matters scientifically, and how to fix common texture issues without buying expensive equipment.
The Short Answer: How Long Is Enough?
If you want the quick rule of thumb before we get into the science: rest your roti dough for at least 15 to 30 minutes. This is the sweet spot for most home cooks using standard whole wheat flour (atta). During this window, the gluten strands relax, allowing the dough to stretch without snapping back. If you have the luxury of time, resting it for an hour yields even better results, especially if your kitchen is cold.
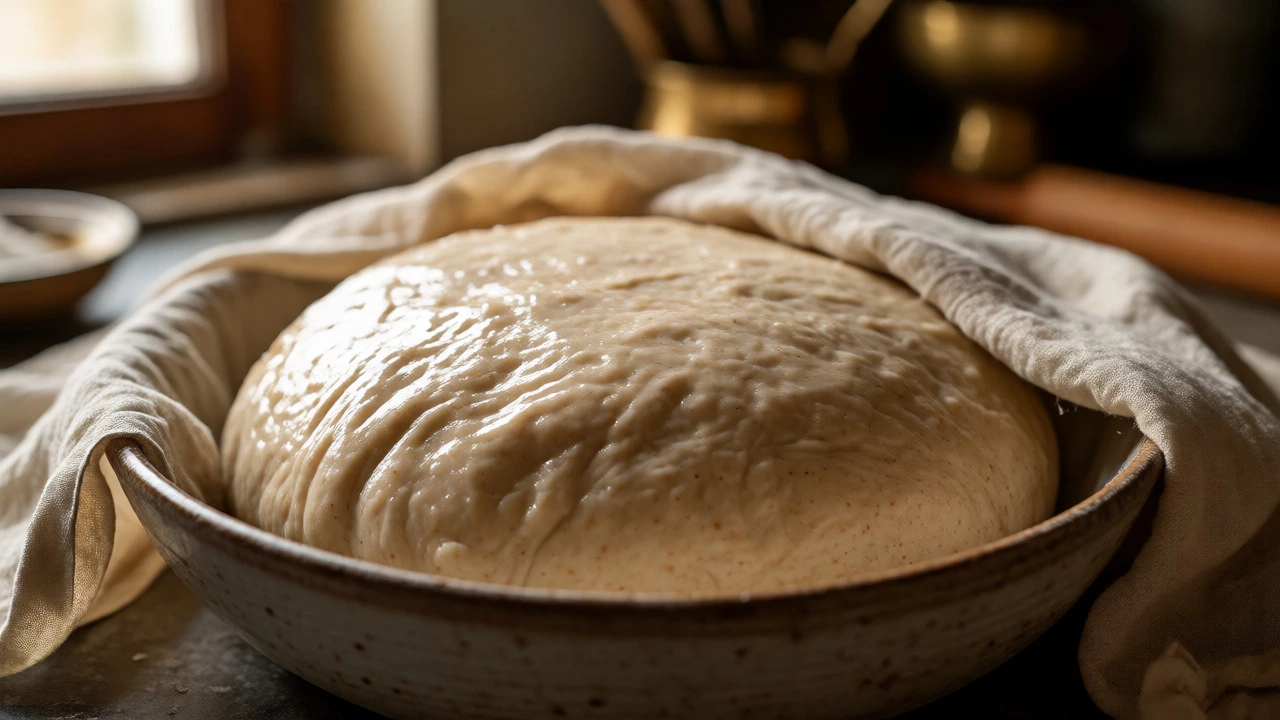
But here is where people get confused. Does "resting" mean just letting it sit? No. It means covering it properly so it doesn’t dry out. If you leave it uncovered, the surface forms a hard crust, which cracks when you roll it. Always cover your bowl with a damp cloth or plastic wrap. Touching the dough after it rests should feel like touching your earlobe-soft, pliable, and slightly tacky, but not sticky.
Why Resting Time Changes Everything
To understand why waiting matters, you have to look at what happens inside the dough. When you mix water and flour, two proteins called gliadin and glutenin bind together to form gluten. Think of gluten as a net of elastic bands. Initially, these bands are tight and chaotic. They fight against being stretched. This is why fresh dough resists the rolling pin and shrinks back to its original size.
Resting allows hydration to complete. Water molecules migrate into the starch granules and align the protein structures. As the dough sits, the gluten network relaxes. The tension drops. Now, when you apply pressure with the rolling pin, the dough stretches easily and holds its shape. Without this relaxation phase, you end up overworking the dough during rolling, which actually makes it tougher. You’re essentially fighting physics.
There is also a flavor component. Enzymes in the flour begin breaking down complex carbohydrates into simple sugars during the rest period. These sugars contribute to browning and add a subtle sweetness that complements savory curries. A short 10-minute rest might help texture, but a 30-minute rest improves taste.
Factors That Adjust Your Resting Time
Not all kitchens are created equal, and neither is all flour. Several variables dictate whether you need 15 minutes or 45 minutes. Here is what you need to watch:
- Ambient Temperature: Heat accelerates enzymatic activity and gluten relaxation. In a hot Sydney summer, 15 minutes might be plenty. In a cool winter morning, you might need closer to 30-40 minutes. If your hands are cold, your dough will be stiff.
- Freshness of Flour: Older flour has weaker gluten bonds. It hydrates faster but can become mushy if rested too long. Freshly milled atta has stronger, more resilient gluten networks that benefit from longer rest times.
- Additives: Adding a pinch of salt strengthens gluten structure. If you use salt, you might need slightly longer resting time to counteract that initial tightening. Conversely, adding oil or ghee to the dough coats the gluten strands, preventing excessive bonding. Dough with fat requires less resting time because the fat acts as a lubricant.
- Kneading Intensity: If you kneaded vigorously for 5 minutes, the gluten is highly developed and tense. It needs more time to relax than dough that was gently mixed. Over-kneading creates a rubbery ball that refuses to yield unless given ample rest.
Common Mistakes That Ruin Texture
Even with perfect timing, small errors can undo your progress. The biggest culprit is air exposure. If you forget to cover the dough, evaporation occurs rapidly. The outer layer dries out and hardens. When you try to divide the dough into balls, that hardened skin tears, creating weak spots that burst during cooking. Always use a damp muslin cloth or a tight-fitting lid.
Another frequent error is dividing the dough immediately after mixing. Some recipes say "divide into balls," but doing this straight away traps stress in each individual portion. It is better to let the bulk dough rest first, then divide. This ensures every piece benefits from the relaxed state. Once divided, you can let the individual balls rest for another 5 minutes while you preheat your tawa. This double-rest strategy guarantees uniform softness.
Then there is the issue of water temperature. Many people use ice-cold water to keep their hands clean. While hygiene is good, cold water slows down hydration. Warm water (not hot) speeds up the process. If you are in a rush, use lukewarm water and reduce the rest time to 15 minutes. If you use cold water, extend the rest to 30 minutes minimum.
Visual and Tactile Cues for Readiness
Timers are helpful, but your senses are better judges. How do you know the dough is ready? Ignore the clock for a second and touch it.
A well-rested dough has specific characteristics:
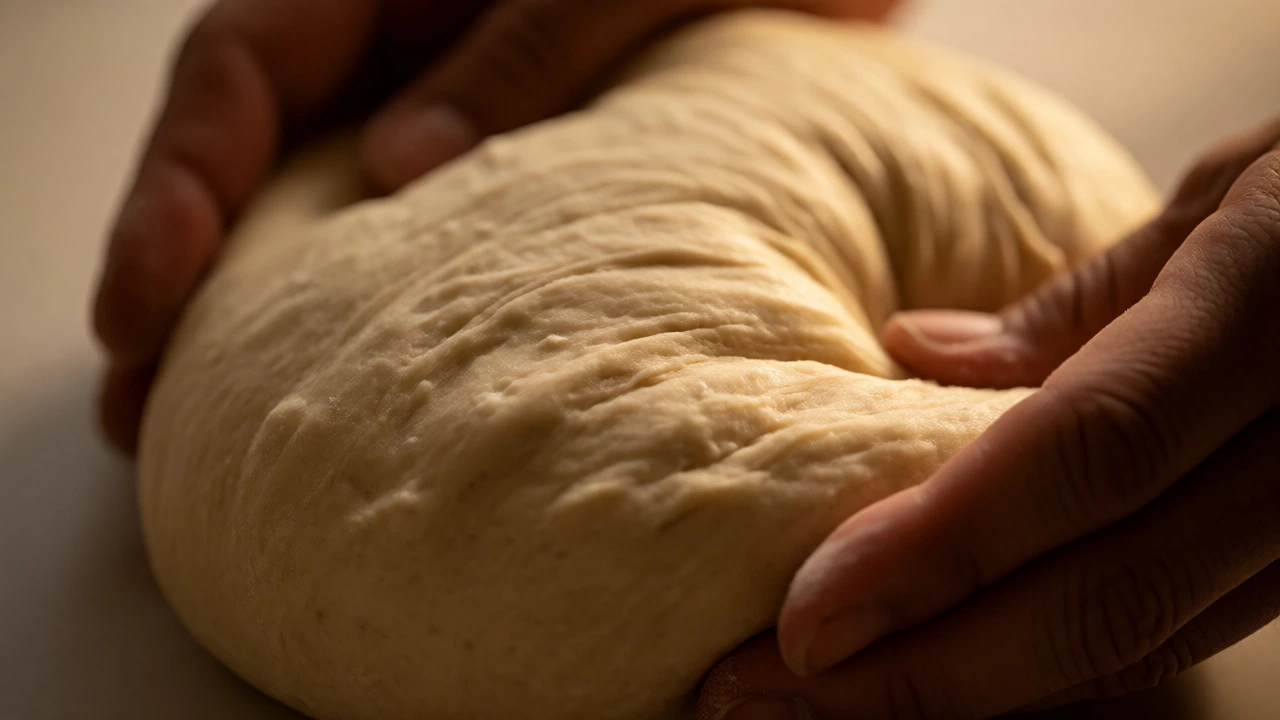
- Smooth Surface: The exterior should look glossy and smooth, not rough or crumbly. Cracks indicate insufficient hydration or drying out.
- Elasticity Test: Press your finger into the dough. The indentation should spring back slowly. If it springs back instantly, the gluten is still too tight. If it doesn’t spring back at all, the dough may be over-proofed or too wet.
- Pliability: Take a small piece and try to flatten it with your palm. It should spread easily without cracking at the edges. If the edges crack, it needs more rest or a tiny bit more oil.
Remember, roti dough is forgiving compared to bread dough. You don’t need yeast fermentation precision. You are managing physical properties, not biological ones. So, if it feels right, cook it.

Troubleshooting Tough Rotis
If your rotis are still turning out hard despite following the steps, check these diagnostics:
| Symptom | Likely Cause | Quick Fix |
|---|---|---|
| Rolls shrink back constantly | Gluten not relaxed (insufficient rest) | Cover and wait 15 more minutes |
| Dough sticks to rolling pin | Too much water / under-hydrated gluten | Add dusting flour; ensure proper kneading next time |
| Cracks appear while rolling | Dough dried out / low humidity | Mist with water or rub with oil |
| Hard after cooling | Undercooked or too thin | Cook longer on medium heat; brush with ghee |
| Tastes raw/bland | Insufficient baking time | Increase tawa heat slightly; press firmly |
One pro tip for keeping rotis soft after cooking: stack them in a cloth-lined container immediately. The steam trapped between layers continues to soften the fibers. If you leave them exposed on a plate, they lose moisture within minutes and turn rigid. For meal prep, wrap cooled rotis in foil and reheat briefly on a dry pan before serving. Do not microwave them unless wrapped in a damp paper towel, otherwise they become chewy.
Beyond the Basics: Advanced Techniques
Once you master the 30-minute rest, you can experiment. Some traditional methods involve overnight resting. Yes, you can make the dough the night before. Cover it tightly and refrigerate. The cold slows down the enzymatic activity but allows deep hydration. Bring it to room temperature for 20 minutes before rolling. This method often produces the tenderest rotis because the long soak breaks down starches thoroughly.
Another variation is adding yogurt or milk instead of some water. Dairy fats coat the gluten strands differently than vegetable oils, resulting in a richer mouthfeel. However, dairy ferments slightly, so limit this rest to 2 hours max at room temperature to avoid sourness. In the fridge, it lasts longer.
Finally, consider the type of flour. Whole wheat atta varies by brand. Some are stone-ground and coarse; others are finely milled. Coarse flour absorbs water slower and needs longer rest. Fine flour hydrates quickly. Adjust your timing based on the specific product you buy. There is no one-size-fits-all number, only a range that works for most scenarios.
Can I skip resting roti dough entirely?
You can, but the results will suffer. Skipping rest leads to tough, rubbery rotis that are difficult to roll. The gluten remains tight, causing the dough to shrink back and tear. If you are in an extreme hurry, knead very gently and add extra oil, but expect a compromise in texture.
Does resting time differ for multigrain or gluten-free flours?
Yes. Gluten-free flours (like rice or millet blends) rely on starch hydration rather than gluten formation. They usually need less rest (10-15 minutes) because there is no elastic network to relax. Multigrain flours with bran absorb more water and may need 30-45 minutes to fully hydrate and prevent gritty texture.
What if my dough becomes sticky after resting?
Sticky dough indicates excess water. Do not add large amounts of flour, which can make the roti dense. Instead, lightly oil your hands and the work surface. Dust with minimal flour only when necessary. Sticky dough often yields softer rotis if handled correctly with oil.
Can I freeze roti dough for later use?
Absolutely. Divide the rested dough into balls, coat lightly with oil, and freeze in a zip-lock bag. Thaw in the refrigerator overnight or at room temperature for 2-3 hours. The freezing process actually helps relax the gluten further, often resulting in very soft rotis upon thawing.
Why does my dough change color after resting?
Dough may darken slightly due to oxidation or enzymatic activity, especially if made with whole wheat flour. This is normal and does not affect taste or safety. To minimize darkening, ensure the dough is covered tightly to limit air exposure.
