How to Prevent Roti from Getting Soggy: The Ultimate Guide
 Nov, 6 2026
Roti Freshness & Sogginess Predictor
Answer these questions to see how likely your rotis are to stay fluffy and dry versus turning rubbery and damp.
You’ve just spent twenty minutes rolling out perfect circles of dough. You’ve roasted them on the tawa until they puffed up beautifully. But ten minutes later, when you unwrap your lunchbox or open the serving dish, that fluffy warmth is gone. In its place is a rubbery, damp mess that tears when you try to scoop up dal. Sound familiar?
Getting roti right isn’t just about the flour and water ratio; it’s a battle against moisture control. Whether you are packing lunch for work in Sydney’s humid climate or trying to keep dinner warm while the kids finish their homework, sogginess is the enemy. It happens because steam gets trapped, or worse, condensation forms on top of hot breads as they cool down. This guide breaks down exactly why this happens and gives you concrete, tested methods to keep your rotis soft but dry, pliable, and delicious.
The Science Behind Soggy Rotis
To fix the problem, you need to understand the culprit. Roti is essentially a thin sheet of cooked starch and protein (gluten). When you cook it, heat drives out some moisture, but the structure remains porous. If you stack hot rotis immediately without any barrier, the residual heat creates steam. That steam has nowhere to go, so it condenses back onto the surface of the bread below. This re-hydration process turns the crispy exterior into a wet, sticky layer.
Furthermore, if the roti itself is undercooked, the interior retains too much raw starch and water. As it cools, this internal moisture migrates outward, making the whole thing feel heavy and damp. Conversely, if you store them in an airtight container while they are still steaming hot, you create a mini greenhouse effect. The trapped humidity makes the bread limp within minutes. The goal is to balance heat retention with ventilation.
Step-by-Step Cooking Techniques for Dry Surface
Your prevention strategy starts before the roti even leaves the pan. Many people rush this stage, thinking the puffing is the only goal. It’s not. The drying phase is critical.
- Cook both sides thoroughly: Never flip a roti after just thirty seconds. Each side needs enough time on the tawa to evaporate surface moisture. Look for small brown spots (blistering), which indicate proper caramelization and dryness.
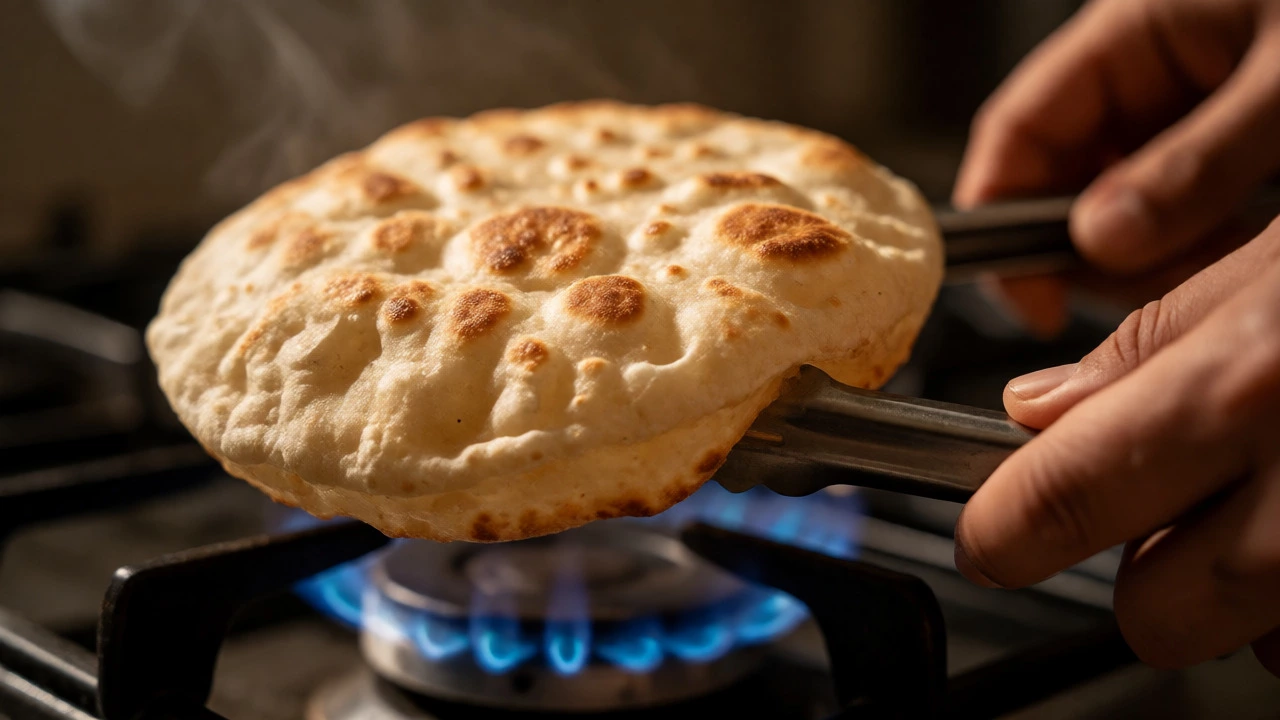
- The direct flame trick: After roasting both sides, hold the roti over an open gas flame for two seconds per side. This flash-dries the outer layer instantly without burning the inside. It creates a crisp skin that resists absorbing moisture later.
- Avoid excessive oil during cooking: While ghee adds flavor, brushing each roti heavily while stacking creates a greasy seal that traps steam. Use oil sparingly during the cooking process, saving the generous brush for the final step or just before eating.
The Cooling Protocol: Why Patience Pays Off
This is where most home cooks fail. They take the roti off the heat and immediately shove it into a cloth bag or steel box. Stop doing this. Hot roti releases significant amounts of water vapor. If you trap that vapor, you get soggy results guaranteed.
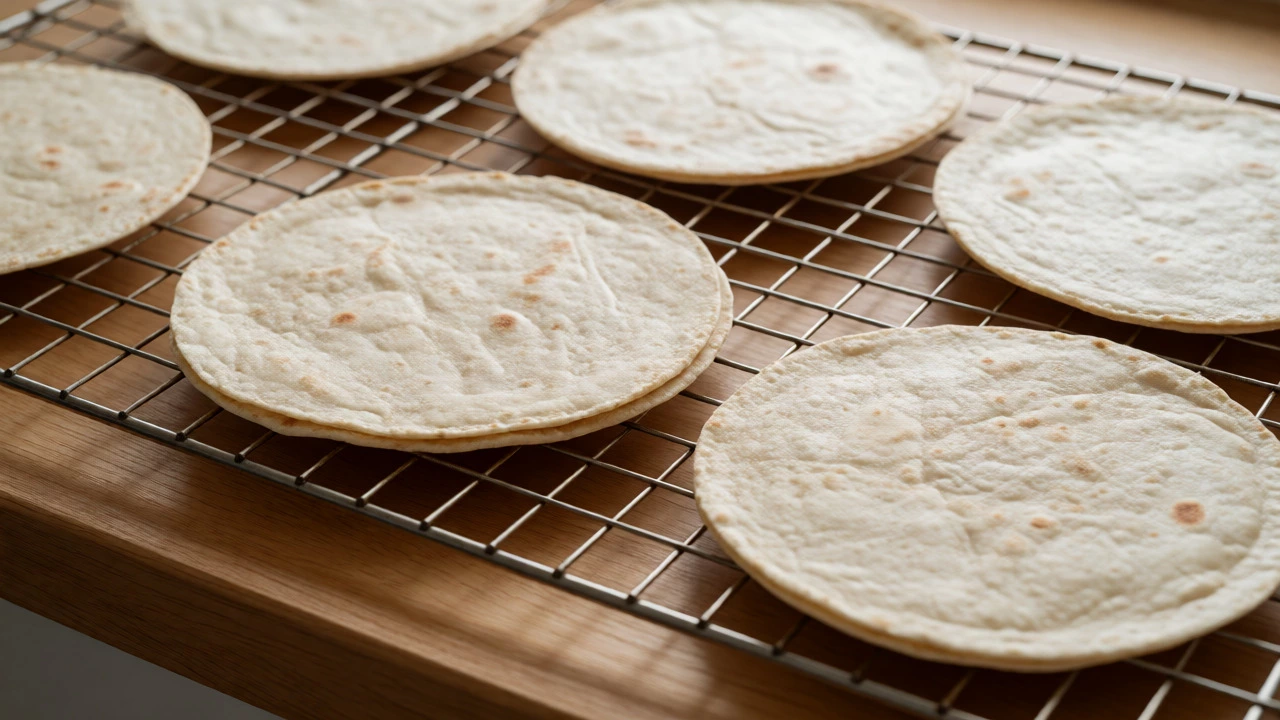
Instead, adopt the "Cooling Rack" method. Place freshly cooked rotis on a wire rack or a large plate in a single layer. Let them sit for 3-5 minutes. You want them to be warm to the touch but no longer actively steaming. This allows excess moisture to escape into the air rather than being absorbed by neighboring rotis. Yes, they will lose some heat, but you regain it later with a quick reheat, and you save the texture.
Smart Storage Solutions
Once the rotis have cooled slightly, how you pack them matters immensely. The material of your container changes everything.
| Material | Moisture Control | Heat Retention | Best For |
|---|---|---|---|
| Cotton Cloth | High (Breathable) | Moderate | Serving at table, short-term storage (1-2 hours) |
| Steel Box (with holes) | Medium | High | Lunchboxes, office meals |
| Plastic Container (Airtight) | Low (Traps Steam) | High | Fridge/Freezer only (not for immediate eating) |
| Paper Towel Layered | Very High (Absorbs) | Low | Long-distance travel, keeping crispness |
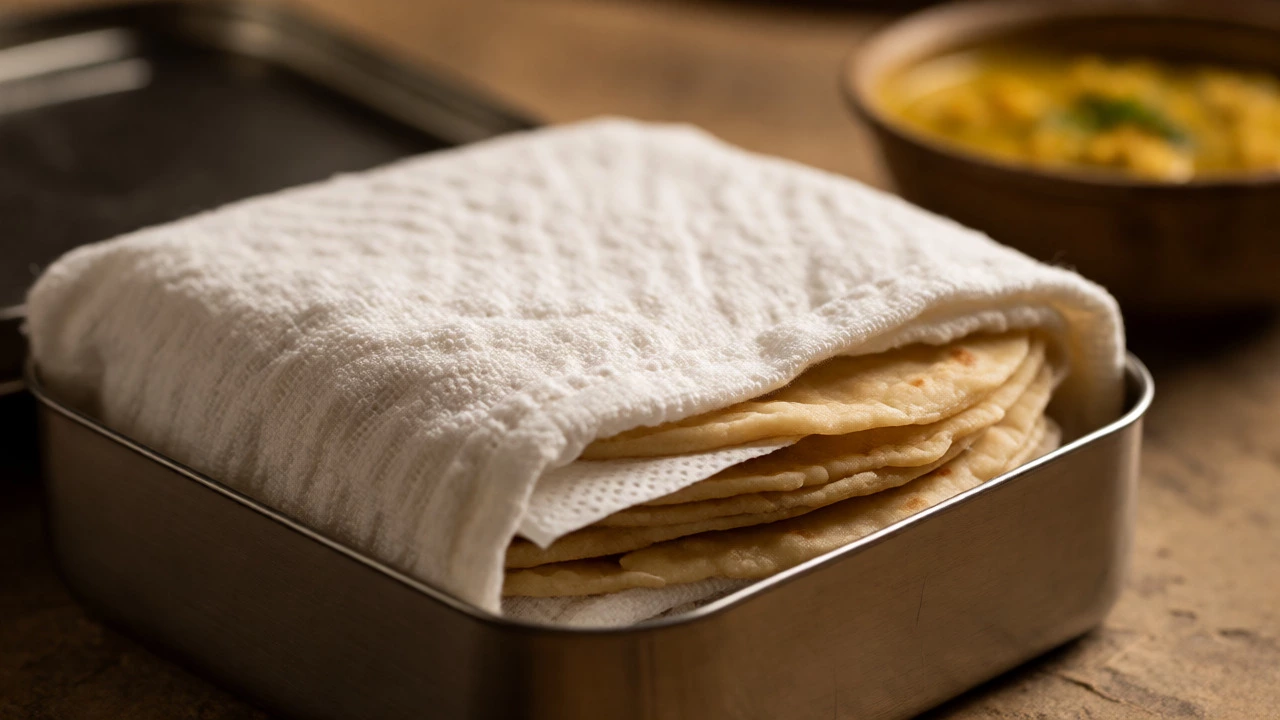
If you are serving dinner, wrap the stack in a clean cotton napkin or tea towel. Cotton absorbs the last bit of escaping steam and keeps the rotis warm without turning them into mush. Avoid synthetic fabrics like polyester; they don’t breathe and can melt slightly if the rotis are too hot, creating weird textures.
For lunchboxes, use a stainless steel tiffin with small ventilation holes, or line your plastic container with a paper towel. The paper towel acts as a wick, pulling moisture away from the bread surface. Change the paper towel if you know the meal is more than four hours old. A wet paper towel becomes useless and can actually transfer dampness back to the roti.
Reheating Without Ruining Texture
Even with perfect storage, rotis cool down. Reheating them incorrectly is the fastest way to make them tough or soggy again. Microwaving is convenient but dangerous for texture. Microwaves excite water molecules, creating steam from the inside out. If you microwave a stack of rotis, they often come out chewy and wet.
Try these better methods:
- The Tawa Revival: Heat a dry tawa on medium-high. Sprinkle a few drops of water on the hot surface (it should sizzle and vanish instantly). Place the cold roti on the tawa. The steam created helps soften the gluten network, while the dry heat crisps the outside. Flip once. Total time: 30 seconds per side.
- Oven Method: Preheat your oven to 180°C (350°F). Wrap a bundle of 4-6 rotis in aluminum foil. Bake for 5-7 minutes. The foil traps just enough steam to soften them, but the ambient heat dries the surface slightly, preventing sogginess.
- Direct Flame: If you have a gas stove, hold the cold roti directly over the low flame using tongs. Rotate constantly. This restores the puff and removes surface dampness effectively.
Dough Hydration and Flour Choices
Your starting point determines your endpoint. If your dough is too wet, the roti will always retain more internal moisture, making it prone to sogginess regardless of how well you cook it.
Use Atta (whole wheat flour) with moderate hydration. The ideal dough should feel smooth but not tacky. If it sticks to your fingers, add more flour. Knead the dough vigorously for at least 5 minutes to develop the gluten. Strong gluten holds the structure together better, reducing the chance of the roti tearing and becoming messy when handled.
Some cooks add a teaspoon of oil or ghee to the dough itself. This coats the flour particles, limiting water absorption during kneading. The result? A softer roti that stays pliable longer without needing extra oil on the surface. However, don’t overdo it-too much fat in the dough can prevent proper browning, leading to pale, steamed-looking rotis that feel damp.
Troubleshooting Common Mistakes
Let’s look at specific scenarios and fixes.
Scenario 1: The Lunchbox Disaster. You packed rotis with a watery curry. The sauce seeped into the bread, making the bottom soggy. Fix: Pack curries separately. Or, place a leaf of lettuce or a piece of parchment paper between the roti and the saucy component. Better yet, roll the filling inside the roti (like a wrap) rather than stacking flat pieces next to liquid dishes.
Scenario 2: The Morning Batch. You made 20 rotis for the week. By day three, they are hard and dry, then suddenly soggy when reheated improperly. Fix: Freeze them properly. Cool completely, separate with wax paper, and store in zip-lock bags. Remove only what you need. Freezing stops the staling process. Thawing them slowly in the fridge prevents condensation buildup compared to leaving them on the counter.
Scenario 3: Humid Kitchen. Living in coastal areas like Sydney means high ambient humidity. Dough absorbs moisture from the air, becoming stickier. Cooked rotis also absorb atmospheric moisture faster. Fix: Reduce water in your dough by 5-10%. Store finished rotis in airtight containers with a silica gel packet (food grade) if available, or simply ensure they are fully cooled before sealing.
Pro Tips for Perfect Rotis Every Time
Here are a few heuristics that professional chefs use:
- Roll Thickness Matters: Thin rotis dry out faster and stay crispier. Thick ones hold more moisture internally. If you struggle with sogginess, aim for a thickness of 2mm rather than 3mm.
- Don’t Stack Immediately: I cannot stress this enough. Single-layer cooling is non-negotiable for premium texture.
- Use Ghee, Not Butter: Clarified butter (ghee) has less water content than regular butter. Brushing with ghee adds richness without adding extra moisture that leads to sogginess.
- Check Your Tawa Temperature: If your tawa isn’t hot enough, the roti steams instead of roasts. Test it by sprinkling a drop of water-if it dances and evaporates instantly, it’s ready.
Preventing soggy roti isn’t rocket science. It’s about respecting physics. Manage the steam, choose breathable materials, and handle the heat correctly. Next time you make a batch, try the cooling rack method and the cotton wrap. Notice the difference in texture when you bite into that first piece. It should tear easily, smell toasted, and taste fresh-not damp.
Why do my rotis become hard after cooling?
Rotis become hard primarily due to starch retrogradation, where the starch molecules recrystallize as they cool, pushing out moisture. Using insufficient water in the dough or undercooking the roti exacerbates this. Adding a little fat (oil/ghee) to the dough helps coat the starch granules, slowing down this hardening process and keeping the roti pliable longer.
Can I store hot rotis in a steel box?
Yes, but only if you let them cool slightly first. If you put steaming hot rotis directly into a sealed steel box, the trapped steam condenses on the lid and drips back onto the bread, causing sogginess. Wait until the active steaming stops (about 3-5 minutes), then wrap them in a cotton cloth before placing them in the steel box. This allows breathability while retaining warmth.
Does freezing roti change the texture?
Freezing is actually one of the best ways to preserve roti quality if done correctly. Ice crystals can damage the structure if frozen slowly, but rapid freezing preserves texture. Always cool rotis completely before freezing to prevent ice crystal formation from condensation. Separate them with parchment paper. When reheating, go straight from freezer to tawa or oven; thawing at room temperature often leads to a wet, gummy texture.
Which flour is best for soft rotis that don't get soggy?
Standard whole wheat atta works best for traditional rotis. To improve softness without sogginess, mix in a small amount of all-purpose flour (maida)-about 10-20%-which lowers the gluten strength slightly and creates a tender crumb. Alternatively, using high-quality atta with higher protein content ensures better structure retention, preventing the roti from collapsing and becoming dense/damp.
How do I keep rotis warm for a party without them getting soggy?
Use a chafing dish with a wire rack insert, not a solid tray. Keep the heat source low (just warm, not hot). Cover loosely with a linen cloth to allow steam to escape. If using a thermal pot, place a folded kitchen towel at the bottom to absorb condensation. Do not stack more than 5-6 rotis deep, as the weight compresses the lower layers, trapping moisture.
