Why Is Dosa Batter Not Crispy? Fix Your Fermentation & Ratio
 Nov, 10 2026
Dosa Crispiness Calculator
Find the perfect balance for that shattering crunch. Adjust the sliders to match your kitchen conditions.
Your Dosa Profile
Expected Texture
Crispy Edges
Balanced crispness with slight chew.
Recommended Fermentation
10 Hours
Ideal for warm climates.
Pro Tip
Use room temp water.
You spread the batter on the hot tawa, watch it sizzle, and flip it with hope. But instead of that shattering crunch you dreamed about, you get a soft, rubbery crepe that folds like cloth. It’s frustrating, especially when you’ve waited twelve hours for the batter to rise. The truth is, crispy dosa isn’t just luck-it’s chemistry. If your dosa batter lacks crispiness, you’re likely dealing with one of three issues: weak fermentation, wrong ingredient ratios, or improper cooking technique.
Most home cooks blame the pan. They buy expensive cast-iron skillets thinking that’s the missing link. But if your batter hasn’t fermented properly, even the best iron won’t save you. Let’s break down exactly why your dosas stay soft and how to fix each variable in your kitchen today.
The Science of Fermentation: Why Time Matters More Than Heat
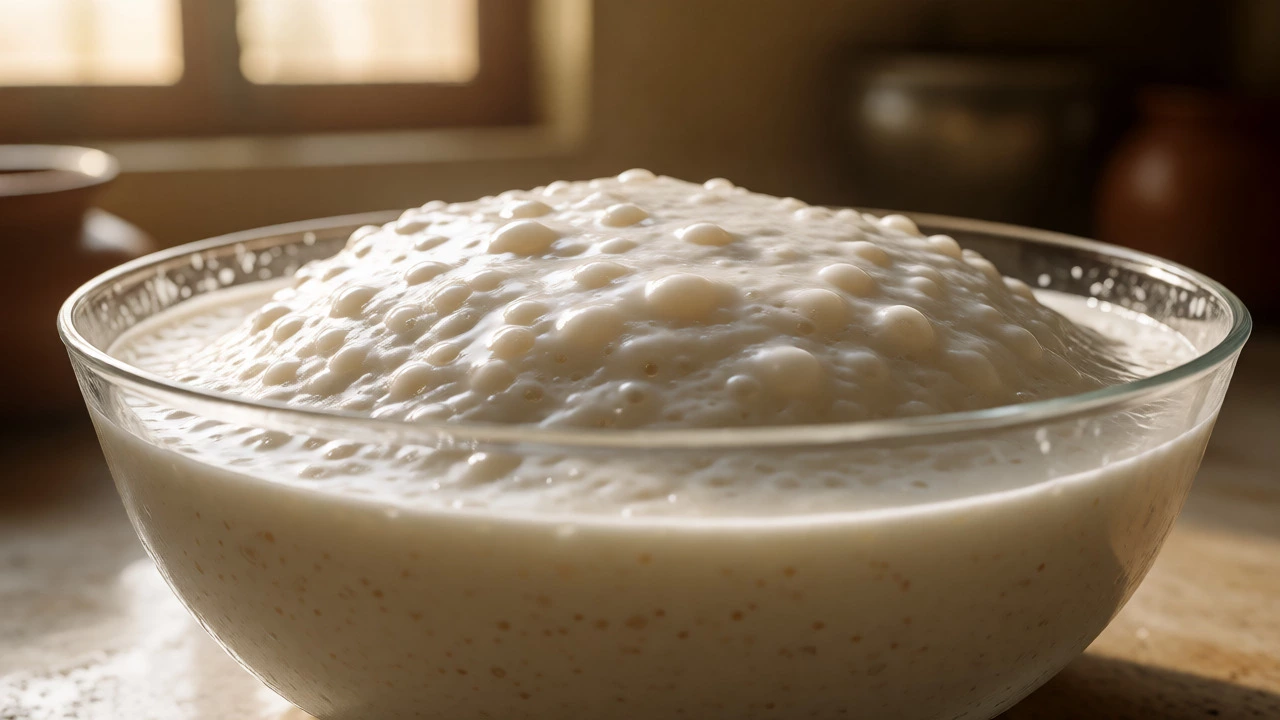
Fermentation is where the magic happens. When you mix rice and urad dal (black gram), natural yeasts and bacteria-specifically Lactobacillus and wild yeast strains-start eating the starches and proteins. This process produces carbon dioxide gas, which creates tiny air pockets in the batter. These pockets are what make the dosa light and airy. But more importantly, fermentation breaks down complex carbohydrates into simpler sugars. These sugars caramelize quickly on the hot griddle, creating that signature golden-brown crust.
If your batter didn’t ferment enough, two things go wrong. First, there aren’t enough gas bubbles to create structure, so the dosa stays dense. Second, without sufficient sugar breakdown, the batter doesn’t brown properly. You end up with a pale, soggy result. In Sydney’s cooler climate, this is a common trap. A batter that rises in six hours during a Melbourne summer might need ten to twelve hours here, depending on your indoor temperature.
Pro Tip: Don’t judge readiness by time alone. Look for volume increase. Your batter should double in size and smell slightly sour, like yogurt. If it smells flat or sweet, it needs more time. Keep it in a warm spot, around 25-30°C (77-86°F). An oven with just the light on works perfectly.
Rice-to-Dal Ratio: The Hidden Culprit
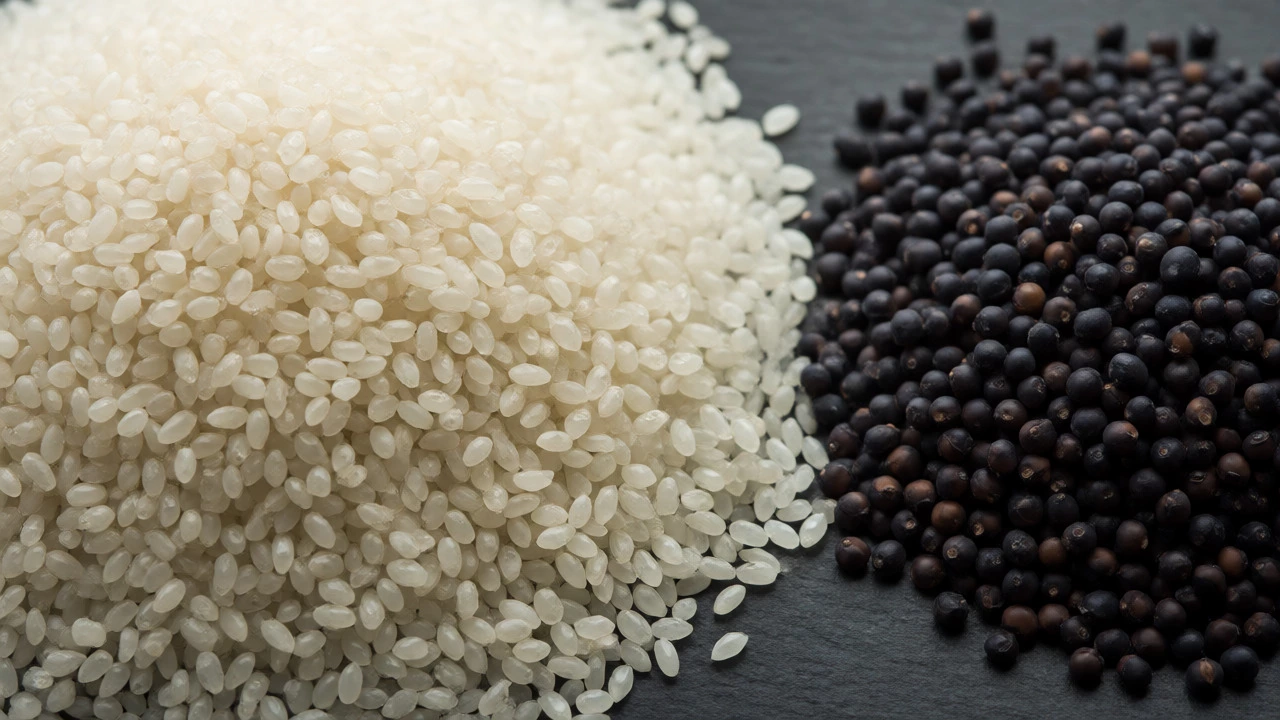
Many recipes suggest a 1:1 ratio of rice to urad dal. For beginners, this often leads to soft dosas. Urad dal provides protein and body, but too much makes the batter sticky and heavy. Rice provides starch, which crisps up when dried out by heat. To get a crunchier texture, shift the balance toward rice.
A reliable ratio for crispy results is 3:1 or even 4:1 (rice to urad dal). Some professional South Indian kitchens use up to 5:1 for ultra-thin, paper-crisp dosas. The extra rice reduces the gluten-like stickiness from the dal, allowing the batter to spread thinner and cook faster. Thinner batter equals more surface area touching the hot oil, which equals more crispiness.
| Ratio (Rice:Dal) | Texture Outcome | Best For |
|---|---|---|
| 1:1 | Soft, thick, flexible | Masala Dosa fillings, beginners |
| 2:1 | Balanced, moderate crispness | Standard household dosa |
| 3:1 | Crispy edges, slight chew | Plain Dosa, Rava Dosa hybrid |
| 4:1+ | Very thin, brittle crisp | Expert level, immediate serving |
Water Consistency: Too Thick Kills the Crunch
Here’s a mistake I see constantly: people grind the batter thick because they’re afraid it will run off the pan. But thick batter never spreads thin enough to crisp. You want a pouring consistency, similar to heavy cream or pancake batter. If you have to push the batter around the pan with a ladle back, it’s too thick.
After fermentation, always stir the batter gently. It separates while resting. Add water gradually until it flows easily off the spoon. Remember, the batter continues to absorb moisture as it sits. If you plan to eat within an hour, make it slightly thinner than you think you need. If it’s sitting for four hours, keep it thicker initially, as it will loosen up naturally.
Tawa Temperature and Oil Technique
Even perfect batter fails on a cold pan. The surface must be uniformly hot before you pour. How do you test this? Sprinkle a few drops of water on the tawa. If they sizzle and evaporate instantly, it’s ready. If they bead up and roll around, it’s not hot enough. If they vanish immediately with no sound, it’s too hot and will burn the outside before the inside cooks.
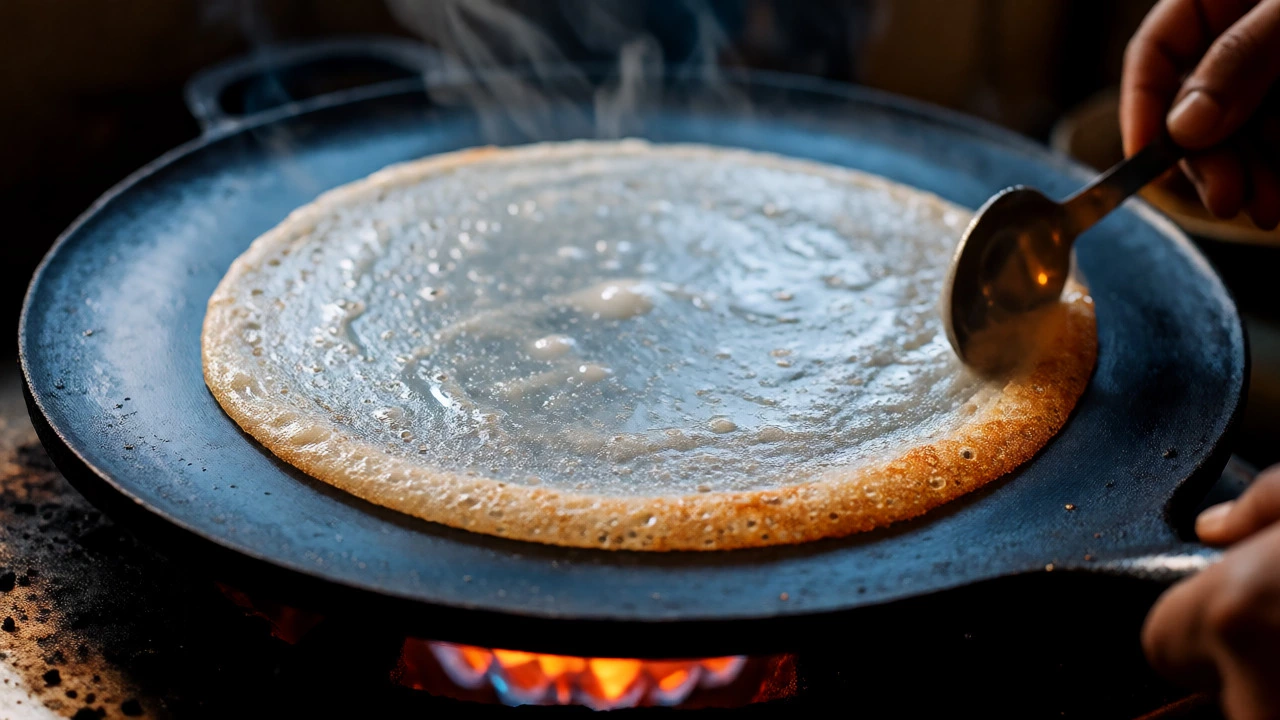
Once the pan is hot, reduce the flame to medium-low. Pour the batter and spread it in a circular motion. Now, add oil or ghee. Don’t skip this step. Fat conducts heat evenly and fries the surface of the dosa. Drizzle oil around the edges and center. Cook until the edges lift naturally and turn golden brown. Then, and only then, flip it. Pressing down too early releases steam, making the dosa soggy again.
Common Pitfalls That Ruin Crispiness
Beyond ratios and heat, small habits sabotage results. Here are the most frequent offenders:
- Using old fenugreek seeds: Fenugreek aids fermentation. If your seeds are stale (over a year old), fermentation slows down significantly. Buy fresh seeds annually.
- Over-grinding the dal: Urad dal should be fluffy, not paste-like. Over-processing heats up the grinder, killing beneficial bacteria. Pulse grind until smooth but aerated.
- Cold ingredients: Starting with ice-cold water slows bacterial activity. Use room-temperature water for grinding to kickstart fermentation.
- Skipping the salt timing: Add salt after fermentation, not before. Salt inhibits yeast growth if added too early.
Quick Troubleshooting Guide
If your next batch still isn’t right, check these specific symptoms:
- Dosa sticks to the pan: Pan isn’t seasoned or hot enough. Season your cast iron with oil and heat thoroughly.
- Dosa tears when flipping: Batter is too thin or under-fermented. Add a teaspoon of rice flour to strengthen the structure.
- Dosa burns before browning: Flame is too high. Lower the heat and ensure even heating across the tawa.
- Dosa tastes bitter: Over-fermented. Reduce resting time by two hours in future batches.
Getting crispy dosa is a learning curve. Once you dial in your specific stove, pan, and local humidity levels, you’ll rarely miss. Start with a 3:1 ratio, ensure a 10-hour warm fermentation, and keep your batter fluid. Your taste buds will thank you.
How long should dosa batter ferment?
Typically 8 to 12 hours at room temperature (20-25°C). In colder climates like Sydney winters, it may take up to 16 hours. The batter is ready when it doubles in volume and has a mild sour aroma.
Can I add baking soda to make dosa crispy?
Yes, but sparingly. Adding 1/4 teaspoon of baking soda per cup of batter can help achieve crispiness if fermentation was insufficient. However, it alters the traditional flavor slightly and should be used only as a backup.
Which rice is best for crispy dosa?
Idli rice or parboiled short-grain rice works best due to higher starch content. Regular basmati rice often results in softer, less cohesive dosas. Avoid highly polished white long-grain rice if possible.
Why does my dosa become soft after cooling?
Crispiness relies on low moisture content. As the dosa cools, it absorbs ambient humidity. Serve immediately for maximum crunch. Storing them in a closed container traps steam, causing them to soften rapidly.
Do I need to soak the ingredients separately?
Soaking rice and urad dal separately yields better texture. Urad dal requires longer soaking (6-8 hours) compared to rice (4-6 hours). Separate soaking allows you to control the grinding consistency for each component independently.
