Can I Use Normal Rice for Dosa Batter? Straight Answers and Smart Tips
 May, 18 2025
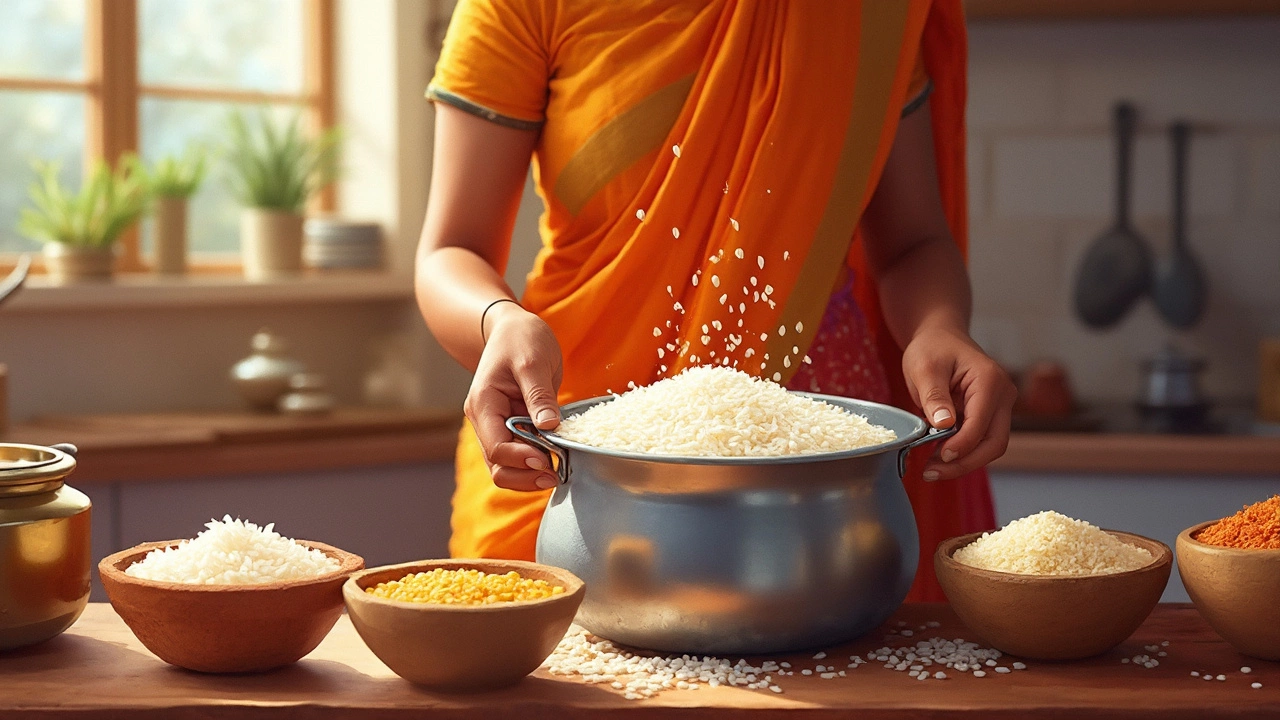
Ever stood in your kitchen, staring at the rice in your pantry, and wondered: Can I just use this normal rice for dosa batter? You're not alone, and honestly, it's one of the most common questions for anyone dipping their toes into South Indian cooking without special ingredients on hand.
If you peek at classic dosa recipes, you'll see names like 'parboiled rice,' 'idli rice,' or even 'short-grain rice' thrown around. Most people don't have these sitting around at home. So, is swapping them out for everyday raw white rice—like Sona Masoori or even basmati—a total disaster, or is it actually doable?
Here's the deal: You won't get the exact same results as the street vendors in Chennai, but you can absolutely make good, tasty dosas with normal rice. You just need to tweak a few things in your process. It’s not about strict rules—it’s about understanding what the rice is doing so you can make it work for you. Ready to figure out the real difference and see if your pantry rice is up to the job? Let's break it down and make sure you get those crispy, golden dosas without a fancy rice run.
- What Counts as Normal Rice and Why It Matters
- How Dosa Batter Works—A Simple Breakdown
- Normal Rice vs. Traditional Dosa Rice: What’s the Real Difference?
- Getting the Best Out of Normal Rice—Tips That Actually Work
- Common Mistakes and How to Dodge Them
- What to Expect—Taste, Texture, and Troubleshooting
What Counts as Normal Rice and Why It Matters
If you ask anyone what “normal rice” means, you'll probably get answers like white rice, basmati, or even the stuff you use every night with dal. Here’s the truth—normal rice usually means any uncooked, raw rice you’d grab in a typical grocery store, not special varieties sold for dosa or idli. Most kitchens have either long-grain (like basmati), medium-grain (like Sona Masoori), or short-grain white rice. These types are easy to find and cook up fast for everyday meals, but they behave a little different when you try to make dosa batter.
So why does the type of rice matter for dosa? It all comes down to starch and texture. Traditional dosa recipes use parboiled rice or “idli rice” because they have more amylopectin—a kind of starch that gives dosas their signature soft interiors and crisp edges. Normal rice does have starch, but the proportions can be off, which means the end result can turn out less crispy or very different in taste.
Check out this simple table to see how common rice types stack up for dosa:
| Rice Type | Texture in Dosa | Availability | Notes |
|---|---|---|---|
| Parboiled/Idli Rice | Very soft, crispy edge | Indian stores | Traditional pick |
| Sona Masoori (Medium-Grain) | Pretty good, softer texture | Most Indian grocery stores | Works well in a pinch |
| Basmati (Long-Grain) | Thinner, sometimes dry | Everywhere | Not ideal but possible |
| Short-Grain Sushi Rice | Sticky, less crispy | Asian sections | Can be mixed with other rice |
If you’re thinking about taste, most folks won’t spot a huge difference unless they eat dosas every day. If you want the classic texture, aim for similar starch levels as idli rice. Otherwise, using the rice chilling in your kitchen already can work for quick dosas. The catch? You might have to play with water, soaking times, or fermentation to get the batter just right.
Bottom line: No need to overthink “normal rice”—but knowing your rice type gives you a head start in nailing the right texture for homemade dosas.
How Dosa Batter Works—A Simple Breakdown
Dosa batter might seem mysterious, but there’s no magic here—it’s all about the right mix of rice and lentils, some water, and a bit of patience. The typical recipe uses rice and split urad dal (that’s just a type of lentil). You soak both for a few hours so they soften up, then blend them together and set the batter aside to ferment. Fermentation is key; it gives dosas their flavor and airy texture.
The science is pretty straightforward. Soaking helps the grains and dal absorb water, making grinding easier and the batter smoother. Grinding blends everything together. When you let the batter sit—usually overnight or for about 8-12 hours—natural bacteria go to work. They break down starches and proteins, producing air pockets (bubbles) and adding a gentle tanginess to the mixture. This is why your dosas get that characteristic slight sourness and those lovely holes that form while cooking.
You, of course, want your dosa batter to be a good match of rice and urad dal—usually a 3:1 or 2:1 ratio by volume. If you like lists, here’s the step-by-step rundown:
- Soak the rice and dal (separately) for at least 4 to 6 hours.
- Grind them to a smooth paste, adding water as needed for a thick but spreadable consistency. Pro tip: Add a spoonful of cooked rice or poha (flattened rice) for even better texture if you’re using dosa batter made from normal rice.
- Mix everything, add salt, and set aside to ferment in a warm spot overnight.
If you like seeing numbers, fermenting batter usually doubles in volume after a proper rest. Curious how rice type and temperature affect outcomes? Here’s a quick data table to keep you on track:
| Component | Role in Batter | Typical Amount (Parts) | Fermentation Time (hrs) |
|---|---|---|---|
| Rice (any type) | Texture and crispiness | 2–3 | 8–12 |
| Urad dal | Binding, softness, fermentation support | 1 | 8–12 |
| Water | Consistency | As needed | - |
| Salt | Flavor, controls fermentation | To taste | - |
It all boils down to this: dosa batter is about soaking, grinding, and fermenting. Once you get the hang of this simple cycle, swapping rice types isn’t as nerve-racking as it sounds.
Normal Rice vs. Traditional Dosa Rice: What’s the Real Difference?
The main argument behind traditional dosa batter is the type of rice used. South Indian homes usually go for parboiled rice or idli rice. These aren’t fancy—they’ve just been processed a specific way. Parboiled rice is boiled in its husk before being milled, while idli rice is a short-grain type designed for fermenting batters. Both have a way of turning out crisp and soft dosas with that spot-on balance.
So, what about regular rice—the usual stuff most folks have? That’s typically raw rice like Sona Masoori, or sometimes long-grain like basmati. These soak up water and ferment a bit differently. Here’s where things get interesting: parboiled rice absorbs water slower and breaks down just enough when ground, helping the batter ferment with more bubbles, which means lighter and airier dosas. Raw rice, while fine for eating, tends to give a denser or slightly gummy texture, and not the signature crispy edge.
Let’s look at some key details between normal rice and traditional dosa rice:
| Type | Texture in Dosa | How It Ferments | Common Brands/Types |
|---|---|---|---|
| Parboiled/Idli Rice | Crispy outside, soft inside | Light, airy; more bubbles | Idli Rice, Ponni, Parboiled Sona Masoori |
| Normal Rice (Raw) | More chewy, might be dense | Less bubbly; can be thick or sticky | Sona Masoori, Basmati, Surti Kolam |
Why does this matter for your dosa batter? It comes down to the science of fermentation and how the rice grinds up. Short, starchy grains like idli rice break down easily, feeding the friendly bacteria that help your batter fluff up. Regular rice grains—especially the polished, long types—have less surface starch for those bacteria to chew on, which means you sometimes miss the airy magic.
But don’t let that stop you. Plenty of home cooks use normal rice with good results, especially if you follow a few hacks (we’ll get to those). If only normal rice is in your kitchen, just know that the texture may be a little different. Some people actually like it—denser dosas can be super satisfying with the right chutney.
Think of traditional dosa rice as an upgrade, not a requirement. You can still get close with regular rice if you tweak the proportions and give your batter enough time to ferment. Both get the job done, just not in the exact same way.
Getting the Best Out of Normal Rice—Tips That Actually Work
If you’re set on using regular rice for your dosa batter, you’ll need to adjust your approach just a bit. Let’s cover smart tweaks that actually pay off.
- Pick the right rice: Short or medium-grain white rice (like Sona Masoori) works better than long-grain types like basmati. Basmati can make the dosa too dry and didn’t hold up well in home kitchen trials.
- Soak longer: Regular rice grains are hard—they need a good soak. Go for 6-8 hours instead of the usual 4 hours. This helps soften the grains, making the batter smoother and helping fermentation happen faster.
- Use the right urad dal: Always pair your rice with whole or split urad dal—not the unhusked kind. This helps boost fermentation and gives you that classic dosa taste and puff.
- Add a spoon of poha (flattened rice): Surprisingly, tossing in a small handful of poha while soaking helps dosas turn out softer and even a bit crispier on the edges. This is a trick a lot of South Indian moms swear by when they’re short on special rice.
- Grind until fine but not runny: For the batter, you want a smooth but slightly gritty texture—think pancake batter but a touch grainier. Add water slowly while grinding; too much makes the batter watery and the dosas limp.
Let’s talk fermentation. Regular rice ferments a bit slower than idli rice, especially if your kitchen is cold (below 25°C/77°F). Try placing the batter in a warm oven with the light on or wrapping the bowl in a towel. You want bubbles and a slight sour smell in 8-12 hours.
| Step | Idli Rice | Normal Rice |
|---|---|---|
| Soaking Time | 4-6 hrs | 6-8 hrs |
| Grinding | Quick, smooth | Needs more water, grind longer |
| Fermentation | 6-10 hrs | 8-12 hrs |
| Texture | Consistently fluffy | Crispy, sometimes slightly chewy |
Here’s a neat trick if your batter isn’t fermenting well: stir in a pinch of sugar right before setting it to rise. It gives the natural yeast a little kickstart. Or, if you’ve previously made dosa, add a spoon of the old batter—it works as a living starter, a bit like sourdough.
Don’t forget salt, but only after fermentation is done. Adding it too soon can hold back those wild yeasts that make your dosa light and bubbly.
If you follow these tips, ordinary rice becomes a lot less ordinary in your dosa batter. It won’t be exact, but it’ll get you really close to a crispy, satisfying homemade dosa without chasing down special ingredients.
Common Mistakes and How to Dodge Them
It’s pretty easy to mess up dosa batter when you swap in normal rice, but the biggest pitfalls are totally avoidable. Let’s walk through the mistakes that trip people up and how you can dodge them like a pro.
- Using the Wrong Rice-to-Urad Dal Ratio: People often stick to the same ratio they see online, but normal rice needs a tad extra urad dal (the split black gram). If you don’t up it a bit, your batter will be too thin or won’t ferment well. Try a ratio of 2.5 parts rice to 1 part urad dal instead of the standard 3:1.
- Skipping Soak Time: Normal rice takes longer to soak up water compared to idli rice. You want at least 6-8 hours of soaking for both rice and urad dal, or your grinder’s going to have a tough time.
- Grinding Batter Too Coarse: It’s tempting to just leave the batter a bit chunky, but with normal rice, you’ll get chewy dosas instead of crisp ones. Aim for a smooth paste with a slight gritty texture—let the grinder run an extra minute or two.
- Poor Fermentation: Normal rice doesn’t ferment as fast, especially if your kitchen’s cold. If possible, keep the batter in a slightly warm place (like inside the oven with the light on) and let it ferment overnight, or up to 16 hours if needed. Adding a pinch of sugar actually boosts the fermenting action.
- Overcrowding the Pan: If your batter feels too thick after fermenting, it’ll be hard to spread and won’t crisp up. Add water to get a thin, pourable consistency—like pancake batter, but even runnier.
Here’s a quick cheat sheet to help you dodge trouble:
| Mistake | How to Dodge It |
|---|---|
| Too thick or thin batter | Adjust water level before making dosas; add little by little until spreadable |
| Poor fermentation | Ferment longer and keep warm; add a pinch of sugar |
| Dull or dense dosas | Grind batter smoother; don’t use stale rice |
| Sticky dosas | Heat the pan properly; drizzle a few drops of oil before each dosa |
| Batter not rising | Use fresher urad dal and make sure salt is added after grinding, not before fermentation |
One last thing: if you’re a numbers person, research says fermentation works best between 30-35°C (86-95°F). If you keep your batter in this range, you’ll get fluffier, more flavorful dosas—no matter what rice you use.
Just remember, a little tweak goes a long way with dosa batter. Don’t toss the whole thing if your first batch isn’t restaurant-perfect—adjust, and next time will always be better.
What to Expect—Taste, Texture, and Troubleshooting
Alright, so once you use regular rice for your dosa batter, what kind of results are you signing up for? Let’s get honest here: it won’t taste exactly like the soft-yet-crispy dosas you’d get at a South Indian café, but the difference isn’t as dramatic as some folks make it sound.
First up: texture. Classic dosa rice (usually parboiled or short-grain) has more starch and gives you that fluffy, airy bite in the middle with a crackly, golden crust. Normal rice, like raw white Sona Masoori or even basmati, has less starch and a different structure. This means your dosas might turn out a bit thinner and can be slightly chewier or less crisp on the outside. But with the right grinding and fermenting, you can get surprisingly close to the real deal.
When it comes to taste, the difference is subtle but there. Traditional dosa rice brings a faint, almost sweet aftertaste thanks to its fermentation-friendly qualities. Plain rice does ferment fine, but the flavor might come out a little muted. Most people won’t notice unless you do a side-by-side taste test.
| Type of Rice | Texture | Crispiness | Fermentation | Flavor |
|---|---|---|---|---|
| Parboiled/Idli Rice | Soft inside, crisp outside | High | Excellent rise | Rich & tangy |
| Normal Raw Rice | Thinner/chewier | Medium | Very good if soaked/grinded well | Mild, less tangy |
Now, here’s where things can go sideways and what you can do about it:
- Dosa batter doesn’t ferment well: If your kitchen’s cold or you rushed the soaking, batter can stay flat and result in leathery dosas. Warm up your oven slightly (then turn it off) and let the covered batter rise inside overnight.
- Dosas are sticking to the pan: Batter’s probably too thick, or the pan isn’t hot enough. Thinner batter spreads easier. Always sprinkle water on the pan, then wipe with an oiled cloth before each dosa.
- Dosas break when lifting: Try grinding the urad dal longer until you get a fluffy, airy paste. Also, a little extra soaked poha (flattened rice) in your batter helps hold the structure together. About 2-3 tablespoons for every cup of rice works well.
- Dosas too pale or soft: Pour batter thinner on a hot tawa and cook a minute longer, with a touch of oil drizzled around the edges. This kicks up the crispiness.
Last tip: Don’t get discouraged by small differences in taste or look. Dosas made with normal rice can still hit the spot, especially if you’re eating them fresh. And hey, the only way to get better is to keep flipping those dosas.
