How to Balance Urad Dal and Rice for the Perfect Dosa Batter
 Feb, 26 2025
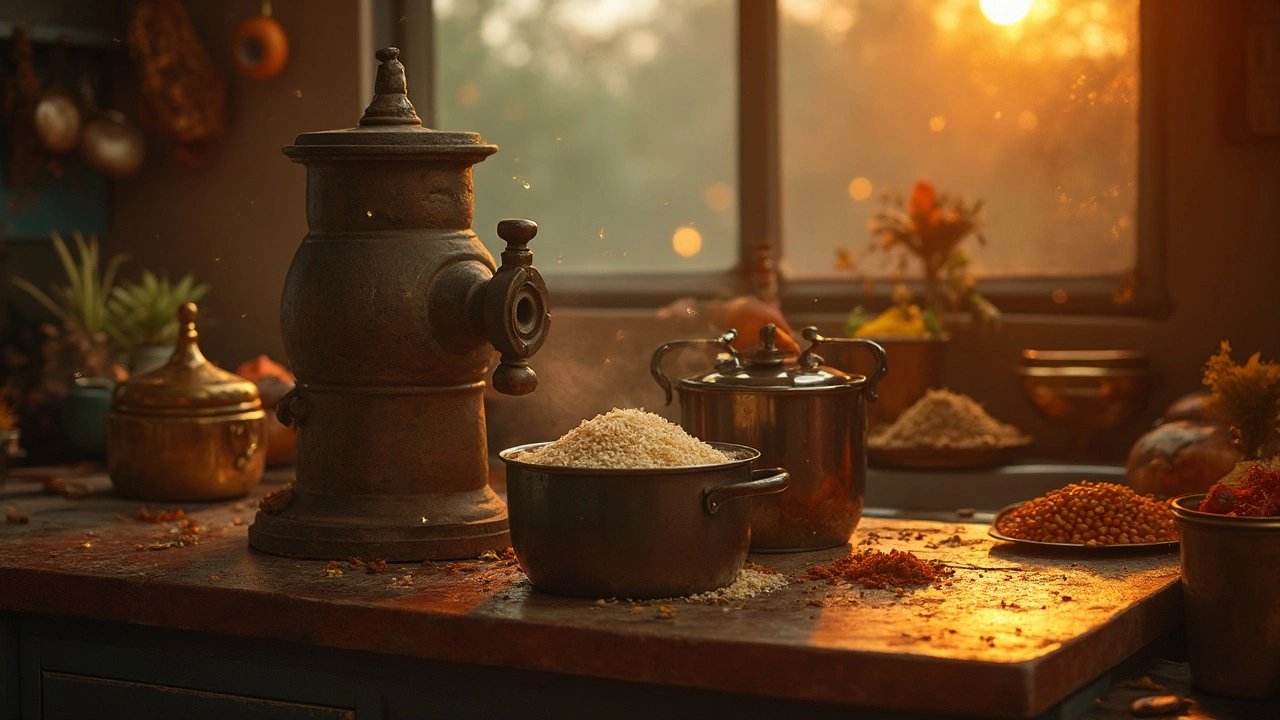
So, you want to nail that dosa batter, huh? Let's cut to the chase. The golden ratio when it comes to whipping up dosa batter is 2:1 — that's 2 parts rice to 1 part urad dal. In your case, for those 3 cups of urad dal, you'll need 6 cups of rice. Simple math, right? This proportion helps get the right balance of crispiness and fluffiness, making your dosas heavenly.
A little side note: not just any rice will do. Traditionally, parboiled rice is the go-to, but if you're in a pinch, any short-grain white rice would work as a decent stand-in. Trust me, I've been there, staring into my pantry while Max demands a walk.
Now, here's a neat trick — when you're soaking these ingredients, keep them apart. Soak the urad dal in one bowl and rice in another. This might seem pointless at first, but let me tell you, soaking them separately helps each item absorb water better, resulting in a smoother and more cohesive batter once you grind them together. So, give them a good 4-6 hours to soak, maybe take that time to walk your dog or catch up on your favorite series.
- Understanding the Basics
- Perfect Proportion
- Soaking and Fermentation
- Grinding Tips
- Troubleshooting Common Issues
Understanding the Basics
When it comes to creating the perfect dosa batter, it’s all in the fundamentals. You can’t just wing it and hope for the best. Nope, it all starts with understanding what you're really doing in that kitchen.
The Essential Ingredients
The two main players in this game are urad dal and rice. Urad dal, often referred to as split black gram, is rich in protein and gives your dosas the fermentation kick they need for that classic tangy flavor and fluffy texture. It's like the secret weapon in your pantry.
Rice, on the other hand, offers the crispiness that makes dosas irresistible. The trick is to balance these two right. Remember, we're talking a 2:1 ratio of rice to urad dal.
Why Soak Separately?
Here’s something that might surprise you: soaking your ingredients literally sets the stage. By letting the rice and urad dal soak separately, you allow them to swell and soften just right. This is crucial because once they're ground and mixed, it’s this soaking step that determines how well your batter ferments and rises. Think of it as giving them a warm-up before the big match.
Let’s clear one thing up. While dosa batter seems complex, it’s honestly just a dance between science and tradition. Follow these basics, and you’re halfway to that enviable homemade dosa.
Know Your Types
When pilfering through your rice options, lean towards parboiled rice, which most folks use in South Indian homes. But hey, regular short-grain white rice isn’t a bad substitute if you're in a pinch. It’s about using what you have and making it work.
Perfect Proportion
Alright, let’s dig into the magic ratio for crafting the perfect dosa batter. As I mentioned earlier, it’s all about the 2:1 ratio. This means you need double the amount of rice compared to urad dal. With 6 cups of rice for those 3 cups of urad dal, you’re set for making some delightful dosas.
So, why this specific ratio? It’s pretty simple. The rice gives dosas their structure, while the urad dal adds that necessary fluff and volume. Too much urad dal, and your dosas could end up being overly soft or sticky. Too little, and you'll lose that classic bite and flavor.
Finding the Right Rice
Not all rice is created equal when it comes to dosa batter. Traditionalists swear by parboiled rice, sometimes called idli rice. This variety has the starch you need to aid in fermentation and texture. If you’re using regular white rice, you might need to soak it a touch longer to help it catch up in the fermentation game.
Some folks also mix a bit of flattened rice (poha) or cooked rice into the batter. Why? It aids fermentation, speeding things up and often producing softer dosas. If you’re in a rush or living in a colder climate where fermentation drags, give this a try.
Experimenting for Taste and Texture
Everyone’s got their own dosa preferences. Some love them wafer-thin and crispy, others like them a bit thicker and fluffy. The beauty of dosa batter is how customizable it is. If you’re into the super-crisp kind, go heavier on the rice. If fluffy is your thing, ease up on it.
Try keeping a log of your batches and take notes of what you prefer. Over time, you’ll dial in exactly how to achieve your version of a perfect dosa. And remember, practice makes perfect!
Soaking and Fermentation
This is where the magic truly begins in making your perfect dosa batter. Once you've measured your rice and urad dal, it's time to get them prepped. Set them apart in separate bowls with enough water to cover them generously. Now, why separate? Because it lets each absorb water more effectively, which means smoother grinding later. Plan for about 4-6 hours of soak time. This could be a great window to catch up on some chores or relax with a book.
Perfecting the Fermentation
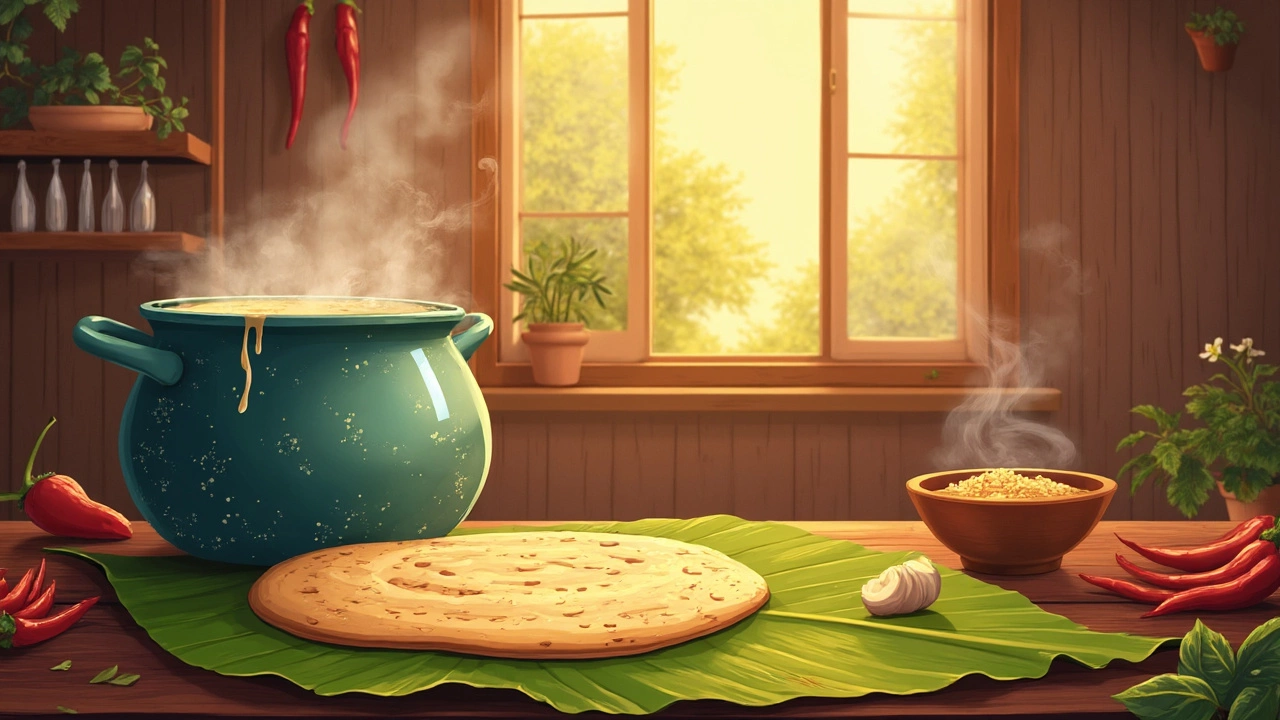
Fermentation is the superstar in the process, giving dosas that lovely tang and fluffy texture. After soaking, grind the soaked urad dal to a fine paste first, then separately, the rice to a slightly coarser consistency. Mix them well and add a little salt – it speeds up fermentation and enhances flavor.
The real key to awesome fermented batter is keeping it cozy. Leave it in a warm spot overnight. Depending on your ambient room temperature, it can take 8-12 hours. A cool trick: if it's too chilly, stick the batter in your oven with just the light on. That little bit of warmth goes a long way.
Here's a simple check: poke the batter gently with a spoon the next day. If it feels fluffy and airy, kudos – you’ve nailed it! If it's not quite there, give it a couple more hours. Patience, after all, is a virtue here.
| Ingredient | Soaking Time | Fermentation Time |
|---|---|---|
| Rice | 4-6 hours | 8-12 hours |
| Urad Dal | 4-6 hours | 8-12 hours |
Remember, the goal is not just a taste, but a texture that delivers mouth-watering dosas every time. With a dash of patience and these simple steps, you're sure to master the art of dosa batter.
Grinding Tips
Alright, it’s time to roll up those sleeves and get to the core of dosa-making: grinding the ingredients. There’s a reason why this step is super important for achieving that perfect dosa batter.
First things first, make sure your blender or wet grinder is squeaky clean. Any leftover residue can mess with the taste and fermentation process. So, give your blender jar a good rinse and dry before you proceed.
Start with the Urad Dal
Begin by grinding the urad dal. It requires more water than you’d think, but add it gradually. You’re aiming for a smooth, fluffy texture. Imagine how thick pancake batter is—that’s the goal. Don’t be shy to stop and scrape down the sides of the jar if needed.
Moving on to the Rice
Once your dal is all smooth and lovely, it’s time to move to the rice. Unlike the dal, rice needs less water. Start grinding and aim for a slightly grainy finish—think sand consistency. This texture is crucial for that crispy yet tender dosa crust everyone loves.
- Use cold water during grinding. This helps ensure the dosa batter doesn't overheat, which can affect fermentation.
- If using a mixer grinder instead of a wet grinder, pause periodically. Mixers can heat up fast, which isn’t ideal.
- Be patient. Grinding can take anywhere from 10 to 15 minutes per ingredient.
Combining Rice and Urad Dal
Once both components are ground, combine them in a large bowl. Now’s the time to get your hands in there. Mixing with your hands isn’t just therapeutic—body heat helps kickstart the fermentation process!
Final Touches
Check your consistency. The dosa batter shouldn’t be too thick or too watery. Adjust with water if needed. It should pour easily but remain cohesive. Let it sit overnight, and you’re on your way to making gorgeous dosas!
Troubleshooting Common Issues
Even with the best intentions, things can go south in the kitchen. But fret not! Here are some common hiccups folks face when making dosa batter and how to fix them.
Too Thin Batter
If your batter is too thin, it won't hold together on the pan and will tear. No one wants mushy dosas, right? To thicken it up, simply add a bit of rice flour to the mix. Start with small amounts like a tablespoon or two, and whisk vigorously until you get the right consistency.
Flat and Dense Dosas
Ever had a dosa that felt like a frisbee? It's probably due to poor fermentation. Ensure you're leaving the batter to rise in a warm place overnight. If it's particularly chilly, wrap the container with a blanket or place it in a pre-warmed (but off) oven. Proper fermentation is key to that delightful, crispy texture.
Batter Not Rising
If your batter isn't rising, it might not be just about the temperature. Check if your urad dal is old. Fresh dal contains more natural leaveners, helping the batter ferment nicely. So make sure your ingredients are fresh.
Dosas Sticking to the Pan
There's nothing more annoying than a dosa that refuses to come off the pan. Ensure your pan is well-seasoned. Before spreading the batter, sprinkle a little water to cool the pan, then wipe it clean. This helps prevent stickiness.
Too Sour Dosas
Left the batter a bit too long to ferment? If your dosas are tasting a tad too tangy, mix some fresh batter into it. This will mellow down the sourness.
With these tips in hand, you're well-equipped to handle most dosa dilemmas. Just remember, practice makes perfect and soon enough, you'll be flipping dosas like a pro!
| Common Issue | Solution |
|---|---|
| Too Thin Batter | Add rice flour |
| Flat Dosas | Ensure proper fermentation |
| Batter Not Rising | Use fresh urad dal |
| Dosas Sticking to Pan | Cool and wipe the pan |
| Too Sour Dosas | Mix with fresh batter |
