What's Dosa Batter Made From?
 Apr, 5 2025
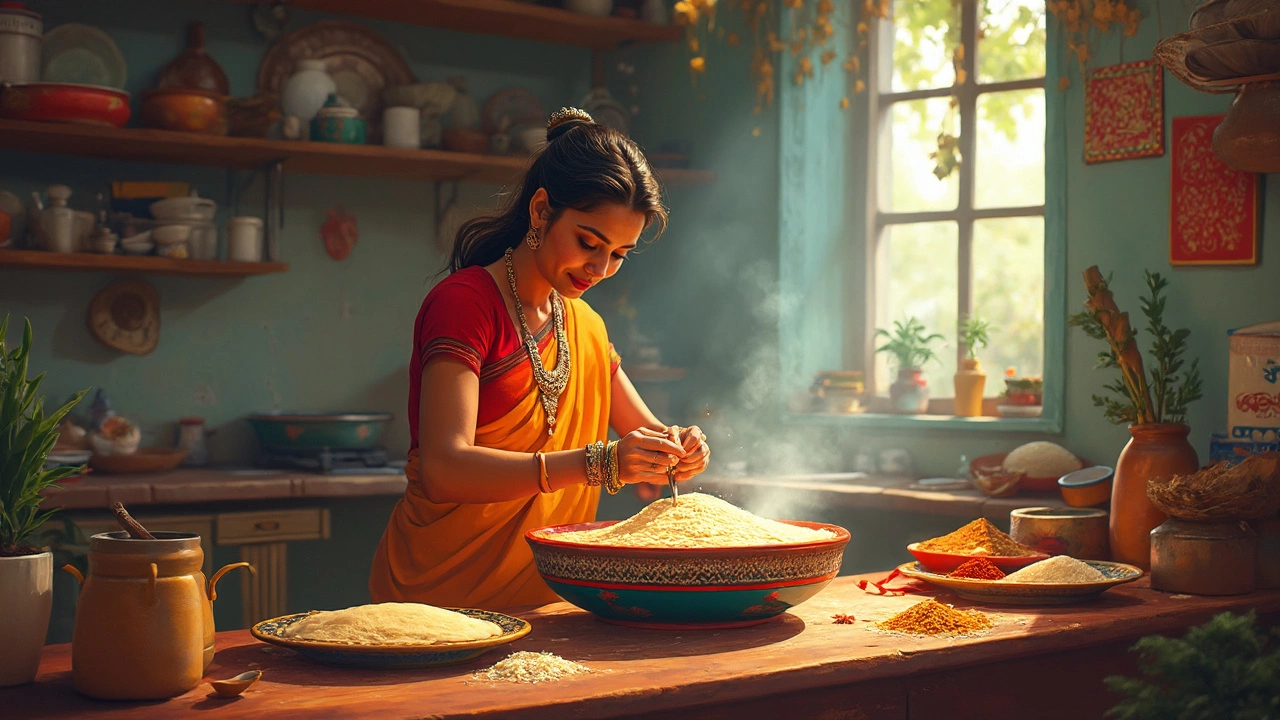
So, you're curious about what makes a dosa batter tick, huh? It's all about the basics. At its heart, dosa batter is made from rice and urad dal, also known as black gram. These two ingredients are soaked, ground, and then allowed to ferment. This fermentation is what gives dosa its unique tangy flavor and makes it such a beloved South Indian dish.
First off, let's talk about rice and urad dal. You generally want a 3:1 ratio—three parts rice to one part dal. This means you'll get a crispy, yet slightly soft dosa. The type of rice can vary, but many folks swear by using short-grain rice or parboiled rice. As for the urad dal, look for the skinned and split version.
- Key Ingredients for Dosa Batter
- Why Fermentation Matters
- Tools You Need
- Common Mistakes to Avoid
- Tips for Perfect Dosas Every Time
Key Ingredients for Dosa Batter
Alright, let's get down to the nitty-gritty of making dosa batter. The main stars here are rice and urad dal. Both play a critical role in getting that perfect dosa.
The type of rice you pick matters a lot. Most people tend to go for short-grain rice or parboiled rice. Why? Because these types help in crafting that crispy texture everyone loves. Parboiled rice is often a favorite since it's partially boiled in the husk and tends to ferment well, producing a nice batter.
Next up, urad dal. For the best batter, opt for skinned, split urad dal. It’s packed with protein and helps give body and the right amount of fluffiness to the dosa. This is the stuff that makes sure your dosa is not just a floppy pancake.
An essential pointer is to keep the ratio in mind. Stick with a 3:1 ratio of rice to urad dal. That's like the golden rule. It ensures your dosa batter is just right—crispy on the outside but soft enough inside.
"A well-fermented dosa batter is the secret to a quintessential South Indian breakfast," says Radha Nair, renowned Indian culinary expert.
A few folks also like to throw in a tablespoon of fenugreek seeds when soaking the rice and dal mixture. Why? They say it helps in fermentation and adds a little bit of an edge in taste.
Here's a quick breakdown for reference:
| Ingredient | Amount |
|---|---|
| Rice | 3 cups |
| Urad Dal | 1 cup |
| Fenugreek Seeds | 1 tablespoon (optional) |
So remember, those ingredients are where it all begins, and getting them right is half the battle won in the world of dosa making.
Why Fermentation Matters
You might think the secret to a perfect dosa lies in the recipe, but it's actually all about the fermentation. Fermentation isn't just a cool science experiment happening right on your kitchen counter; it's the magic that makes your dosa tasty and easy to digest. It's all about those beneficial bacteria that transform the batter.
What exactly happens during this process? Well, when you let the dosa batter sit in a warm spot, it ferments, allowing natural bacteria and yeasts to break down the sugars in rice and urad dal. This not only gives the batter a slight tang but also enhances the nutritional value, making the nutrients more accessible to our bodies.
Want to know how to nail this process? Here's a quick rundown:
- Temperature Control: Keeping the batter in a warm spot, usually around 32°C (90°F), is key. Earthen pots or ovens with just the light on can create the perfect cozy nook.
- Right Duration: Fermentation typically takes 8 to 12 hours, depending on the climate. In warmer areas, it can be quicker, so keep an eye (and a nose) on your batter.
- Bubbly Goodness: Look for tiny bubbles on the surface of the batter, indicating that your batter is alive and ready!
One interesting tidbit is that properly fermented dosa batter doesn't need any added yeast. The yeasts naturally present in the environment do the job just fine, which is why the tradition of passing down some 'starter' batter from one batch to the next is cherished in many households.
Thanks to fermentation, dosa isn't just delicious; it's a little healthier, too. Who knew this humble process packed such a powerful punch?
Tools You Need
Alright, let's dig into the gadgets and gizmos you'll need to whip up that perfect dosa batter. Trust me, having the right tools makes the whole process a breeze.
First on the list is a good quality blender or wet grinder. A wet grinder is ideal because it crushes the rice and urad dal to a smoother consistency, which is what you’re aiming for in a dosa batter recipe. Blenders do the trick too, especially high-powered ones, but you might get a bit of graininess if you're not careful.
Next, you’ll need bowls for soaking. Simple, right? But make sure they’re large enough so the ingredients can soak comfortably. Big bowls help, especially since the urad dal tends to swell up a bit.
A ladle or spatula is crucial for stirring and pouring the batter onto the pan later on. You want something that's sturdy yet easy to handle, considering you'll be swirling around hot batter.
Last but not least, grab yourself a cast iron skillet or a specialized dosa pan. Cast iron is superb for heat distribution, making it easier to get that perfect crispy texture.
Here's a quick checklist:
- High-power blender or wet grinder
- Large soaking bowls
- Ladle or spatula
- Cast iron skillet or dosa pan
Setting up your workspace with these tools makes the journey to homemade dosas a whole lot smoother!
Common Mistakes to Avoid
Trying to whip up a batch of perfect dosa batter might seem straightforward, but trust me, there are a few pitfalls that can trip you up. Let's dive into what you might be doing wrong and how to get it right.
First off, watch your soaking time. Soaking the rice and urad dal for the right amount of time is crucial. Too short, and the ingredients won't grind smoothly. Too long, and it might ferment unfavorably. Aim for about 4 to 6 hours for both.
Another common hiccup? Not rinsing the rice and urad dal well before soaking. This simple step removes excess starch and grime, which can interfere with fermentation.
Then there's the grinding process. Folks often compromise here. You want a smooth consistency, especially for the urad dal. If you're using a blender, be patient and blend in small batches with enough water to avoid overheating, which can turn the batter pasty.
- Pro Tip: Add a few tablespoons of cooked rice if the batter is too thin. It helps thicken it up without affecting taste.
Let's talk fermentation. A common mistake is skimping on fermentation time. The batter needs warmth to ferment, so if your kitchen's cold, try placing it in the oven with just the light on or near a warm spot like a radiator.
Don't forget about salt. Adding salt post-fermentation is the way to go because it can hinder the process if added too early. However, forget to add it later, and you'll be left with bland dosas.
And finally, check your batter storage. Never store it in a metal container as this can interfere with the fermentation process. Use glass or plastic containers instead.
Avoiding these mistakes takes a bit of practice, but get them right, and you’ll be snacking on homemade, crispy dosas in no time!

Tips for Perfect Dosas Every Time
If you've ever wondered why your homemade dosas don't match what you get in the best South Indian restaurants, you're not alone. There are a few tricks and tweaks that can make a world of difference.
Start by paying attention to your batter. A well-fermented batter is key. Make sure it's left to ferment in a warm place for about 8-12 hours. If it's chilly, consider placing it in the oven with the light on to provide a bit of warmth. You'll know it's ready when it rises and has a slight tangy aroma.
Consistency matters too. The batter should have a pancake batter-like consistency, neither too thick nor too watery. To check, it should coat a spoon without being clumpy. Add a bit of water if it's too thick after fermenting.
Here's a pro tip: use a well-seasoned cast-iron skillet or non-stick pan for cooking. A hot pan ensures that the dosa cooks evenly and gets that perfect golden-brown crisp. To test the temperature, sprinkle some water on the pan; if it sizzles and evaporates quickly, you're good to go.
- Use a ladle to pour the batter onto the center of the pan, then spread it out evenly in a circular motion.
- Drizzle a little oil or ghee around the edges to help it crisp up.
- Once the edges start browning, and you can see the center getting cooked, it's time to flip or fold.
Want to boost the flavor? Add a pinch of fenugreek seeds to the batter while grinding. It gives dosas an extra edge in taste.
And if your batter has been sitting in the fridge, let it come to room temperature before using it. Cold batter doesn't yield the same results.
Armed with these tips, you're well on your way to whipping up the kind of dosas that draw crowds—in your kitchen!
