Perfect Dosa Recipe: Tips, Ratios, and Secrets for Restaurant-Style Crispy Dosa
 Jul, 9 2025
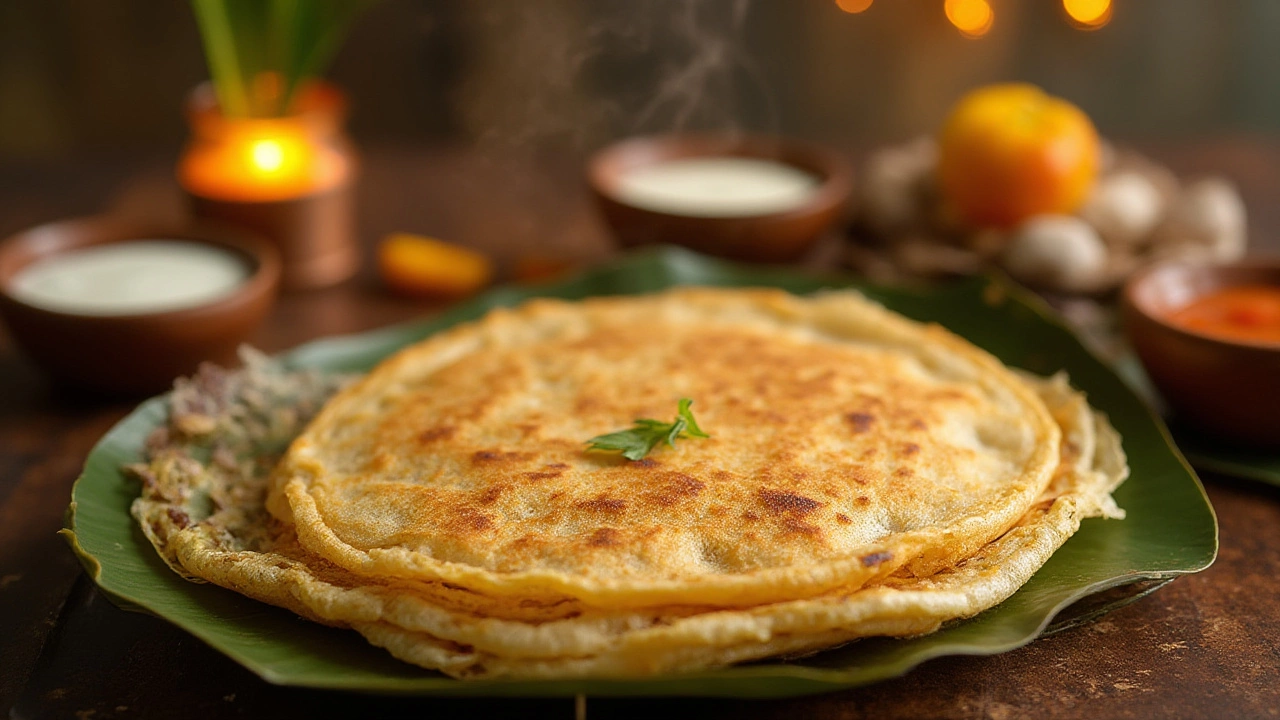
Ask any South Indian what "perfect dosa" means, and you’ll start a heated debate. Is it the golden-brown crispness? The gentle tang? The paper-thin edges that shatter with a nudge? There’s something about dosa—crisp outside, fluffy inside, and that unmistakable aroma—that pulls you in. I can’t count how many times I’ve seen people, veteran cooks included, frustrated by soggy middles or batter that just refuses to bubble. Want that restaurant-style dosa crunch? You need the right moves. And yes, anyone can do this at home, without any "secret" restaurant ingredient hacks.
The Science of Dosa Batter: Ratio, Rice, and Urad Dal
Every great dosa starts with a battle: getting the batter just right. That wholesome mix of rice and urad dal (split black gram) isn’t just tradition—it’s chemistry. Stick to a 3:1 or 4:1 ratio of rice to dal for standard crispiness. Want it extra crispy, like the ones at legendary Udipi joints? Some pros push it to 5:1, throwing in an eighth of a cup of chana dal for ultra-brown, lacy dosas.
Types of rice matter, too. Parboiled rice (idli rice) creates a fluffier center and holds the structure better when spread thin on the pan. Raw sona masuri works for North Indian kitchens, while some swear by a mix. Here’s a quick reference:
| Ingredient | Standard Quantity |
|---|---|
| Rice (Parboiled/Idli) | 3 cups |
| Split urad dal | 1 cup |
| Chana dal (optional) | 2 tbsp |
| Fenugreek (methi) seeds | 1 tsp |
Soak for at least 6 hours, but longer—overnight—is better for the right enzymatic breakdown. Fenugreek seeds aren’t just flavor; they supercharge fermentation and help with a subtle golden hue. Skip them, and you’ll notice the difference.
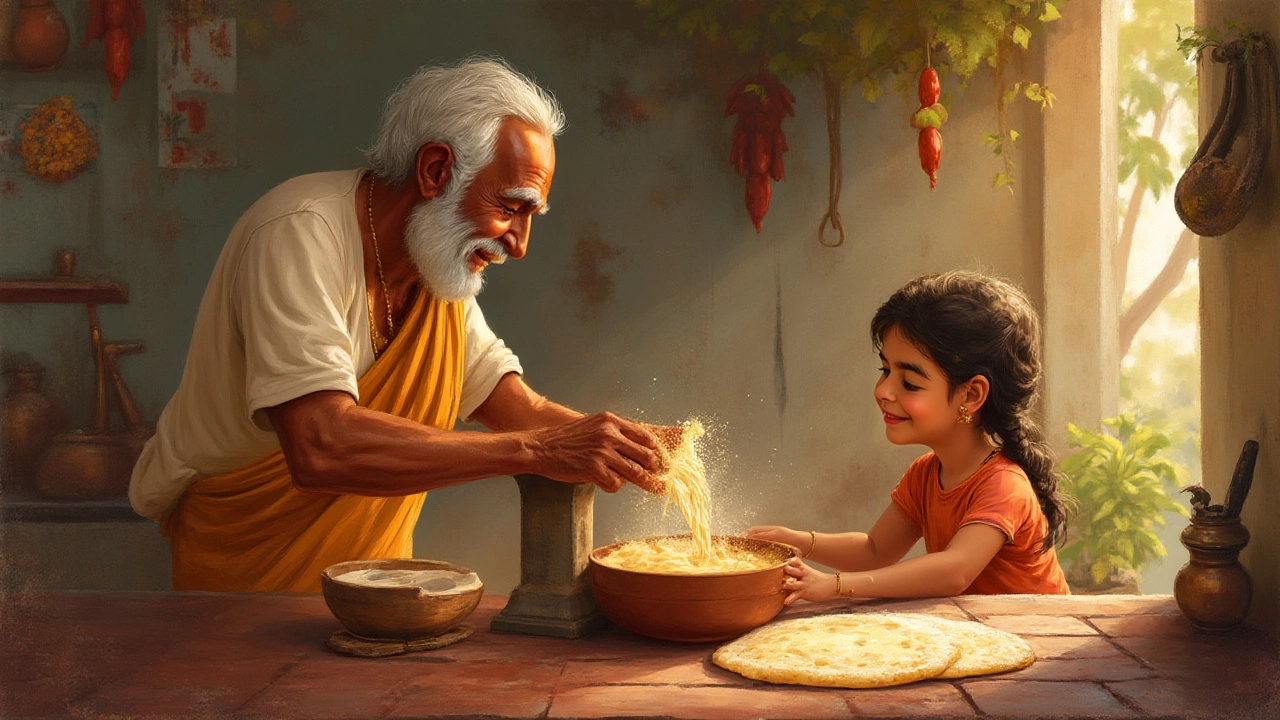
Grind the batter using a wet grinder if possible. Blenders work, yes, but nothing beats the creamy, gluten-like batter from stones. Add water slowly—your ideal finished batter is pourable, like pancake batter, but not watery. Keep it slightly grainy for traditional texture. Don’t salt the mixture yet.
Fermentation: The Secret to Tangy, Airy, Living Batter
Fermentation freaks everyone out. Seems mystical, but it’s just time, temperature, and wild yeasts doing their thing. After grinding, transfer the batter to a big bowl (it doubles in size, so leave room!). Cover loosely and let it rest at a cozy 28–32°C (82–90°F). Too cold? It’ll sulk and stay flat. Toss the batter into an oven with the light on, or next to a warm appliance.
You’re looking for two things: visual volume and bubbles. Twelve hours is often good, but in colder spots it can take up to 20 hours. Don’t stir aggressively—just a gentle mix to combine when you add salt (after fermenting!). If fermentation has failed, your best bet is to start over—adding commercial yeast spoils the flavor.
The sourness isn’t random; it comes from lactic acid bacteria. The longer it sits (but before turning overly sour), the better the tang. Store leftovers in the fridge or, for a longer shelf life, freeze in portions. But always, always let the batter warm up to room temp before making dosa. Cold batter won’t crisp up well.

Preparation Secrets: Tools, Pan Temperature, and Spreading the Batter
Most dosa flops are about the pan, not the batter. Forget non-stick pans—try a well-seasoned cast iron tawa or griddle. New pans take patience—rub them with oil and half a raw onion before each batch for a natural non-stick effect. Don’t use soap after seasoning, just wipe with a paper towel between rounds.
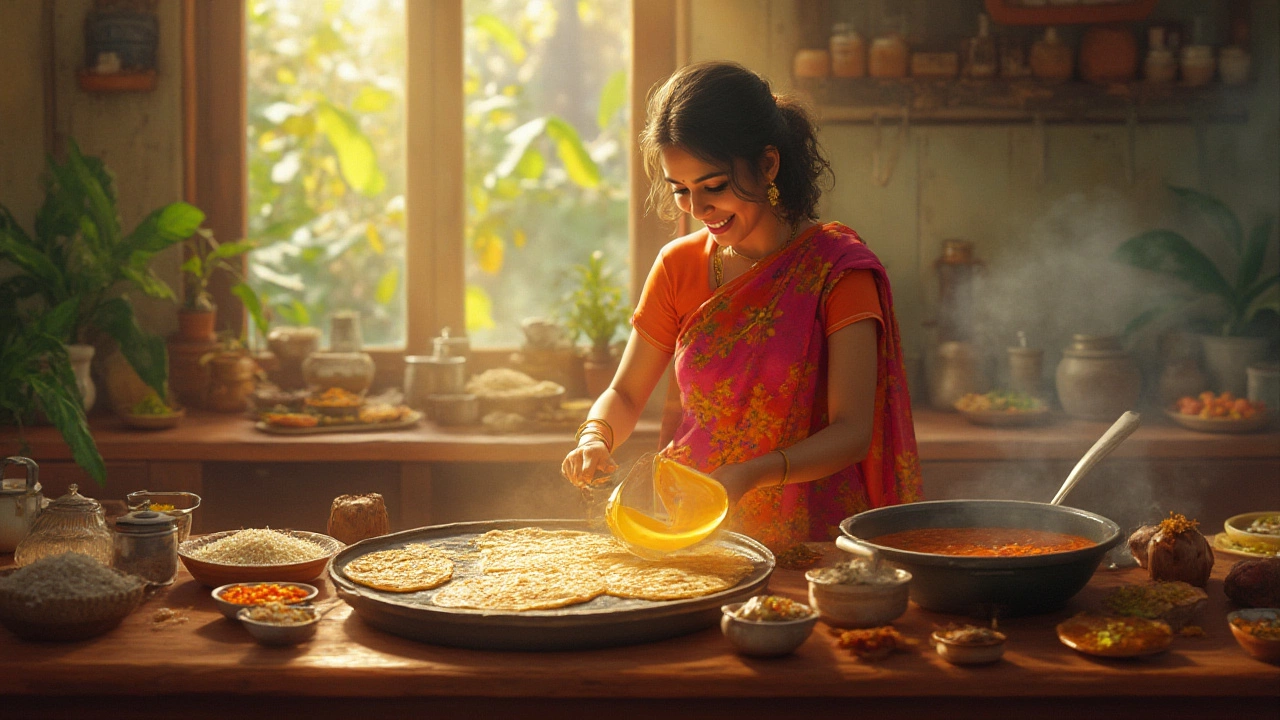
Temperature is the most critical factor outside the batter itself. The tawa should be hot, but not smoking. Flick a few drops of water on the surface: if they dance and sizzle, you’re ready. Pour a small batter ladle in the center, then quickly spiral it outward in circles using the back of the ladle. Press lightly for thin, lacy dosas with crackling edges.
This spreading technique takes muscle memory, but don’t let that scare you. Even if it’s thicker in parts, dosa’s pretty forgiving. Drizzle a half-teaspoon of oil along the edges as it cooks—traditionalists use ghee for aroma and golden color.
- Never cover the dosa—steam ruins crispiness.
- Use a metal or flat wooden spatula for easy lifting.
- If the next dosa sticks, splash some water and rub with more oil or onion—keeps the tawa at the right temp and builds that seasoned surface.
Pro Tips: Customization, Filling Options, and Pairings
Dosa’s beauty: once you master the base, you can riff endlessly. Some folks stir in a splash of buttermilk for extra tang. Want an ultra-crisp finish? Sprinkle semolina (rava) into the batter, or add cooked rice during grinding. Leftover rice brings both fluffiness and crunch—a hack discovered by many home cooks who refuse to waste anything.
For a richer flavor, try replacing some dal with whole moong or mix in a handful of soaked poha. These little tweaks amp up flavor, color, and texture. Want to go full restaurant style? Layer your hot dosa with a spicy potato masala (a dryish, turmeric huddle of potatoes and onions, sometimes peas) before folding it up. Not a fan of potatoes? Try paneer, cheese, or a scrambled egg for a Mumbai street-style twist that’s lip-smacking and breakfast-friendly.
Pairings? Chutneys—fresh coconut, tomato, or tangy mint—are a must. If you’ve got extra time, simmer a sambar from scratch. Pro tip: sprinkle gunpowder (spicy podi) over dosa and drizzle with ghee for that ultimate flavor punch loved in Chennai.

Troubleshooting: Common Dosa Issues and Real Fixes
Every dosa fan faces some classic fails, but most are fixable. Is your dosa sticking? You probably skipped the seasoning ritual, or your pan isn’t hot enough. Are they pale, not golden? You’re running too cool; bump up the heat. Cracking instead of crisping means your batter is too thick—add a splash of water and stir.
Batter not fermenting? Try keeping it in the oven with just the light on, or wrap the bowl in a towel. Don’t use baking soda—while some cheat with it, the texture and flavor go down the drain. If your dosas come out too tangy, reduce fermentation time or switch to fresher dal next time. If they’re limp, switch rice varieties or try mixing two different ones for better structure.
Here’s a tip many restaurants use: after grinding, let your batter ferment in smaller bowls rather than a big pot—heats evenly and gives consistent results. And if you ever feel like your dosa lacks the signature color, a dash of chana dal or even a sprinkle of turmeric into the batter works wonders (just don’t overdo).
Remember, dosa is about patience—both in fermentation and in learning to handle the pan. Mess up a few? That’s part of the process. The best dosa makers in India have probably tossed dozens before figuring out what works in their kitchen. Trust your senses, not just timers.
